Summertime is here and in full swing! While summer often feels like the busiest season of the year, the in-between periods can bring boredom and excessive TV watching. Since we know how hard it is to keep children entertained while school is out, we came up with this easy DIY kids craft. This photo stand is perfect for showing off their favorite memories. It’s low-cost and can take as long as you want it to. Here’s how to do it:
What You'll Need
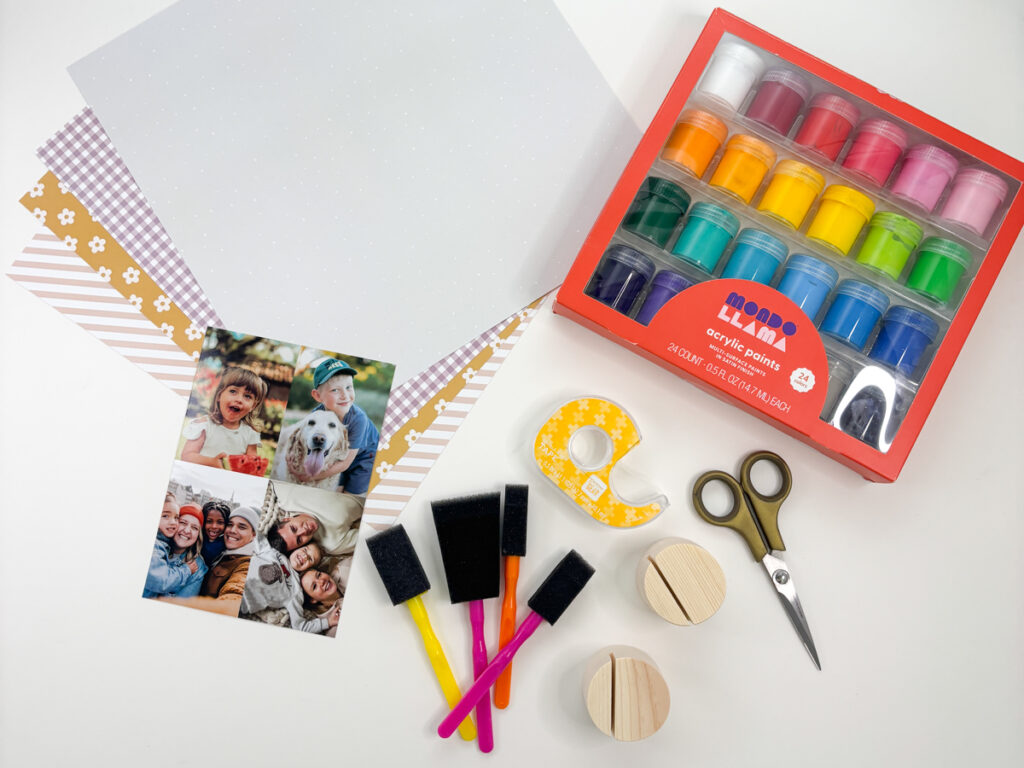
You don’t need much for this easy DIY kids’ craft. This is what we use to customize our photo and woodblock photo stand.
- scrapbook paper/construction paper (any thicker paper to give your photo more structure)
- acrylic paints (we used this set that comes with 24 colors)
- paint brushes
- double-sided tape or glue
- mini photo prints
- scissors
- circle woodblock
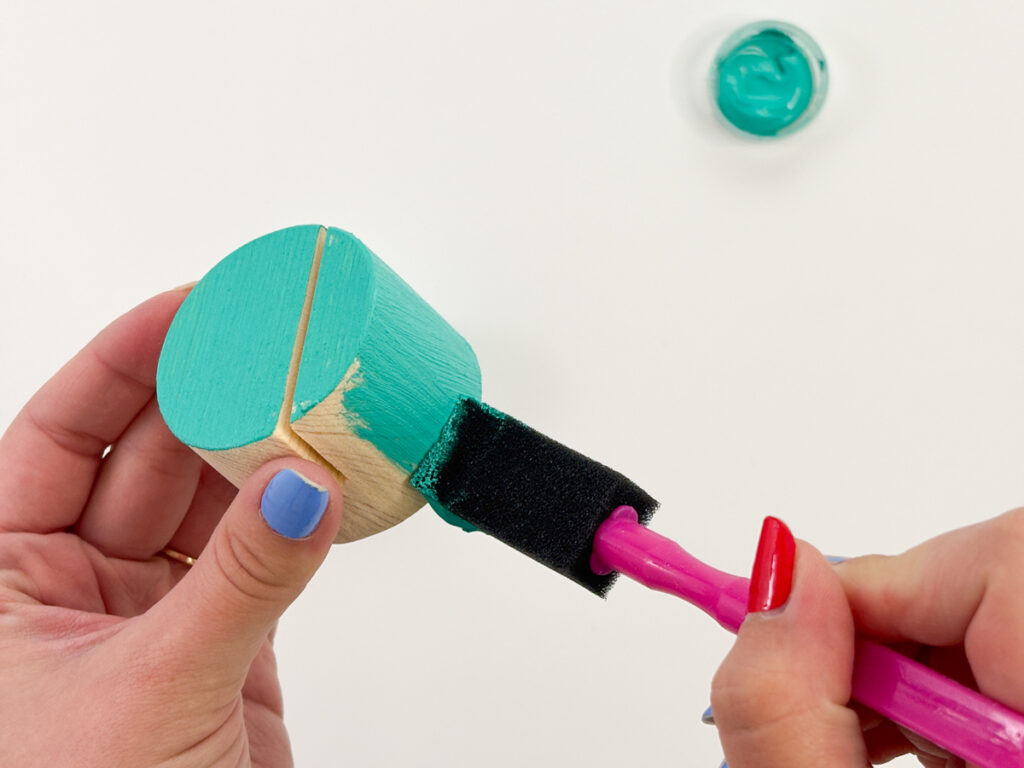
Start With the Woodblock
It’s easiest to start with your woodblock so you can let it dry while you do the other half of this craft. Pick out your paints and add your base color. We recommend choosing a color that will match with your paper and photo! I chose a teal to go with the colors in the photo.
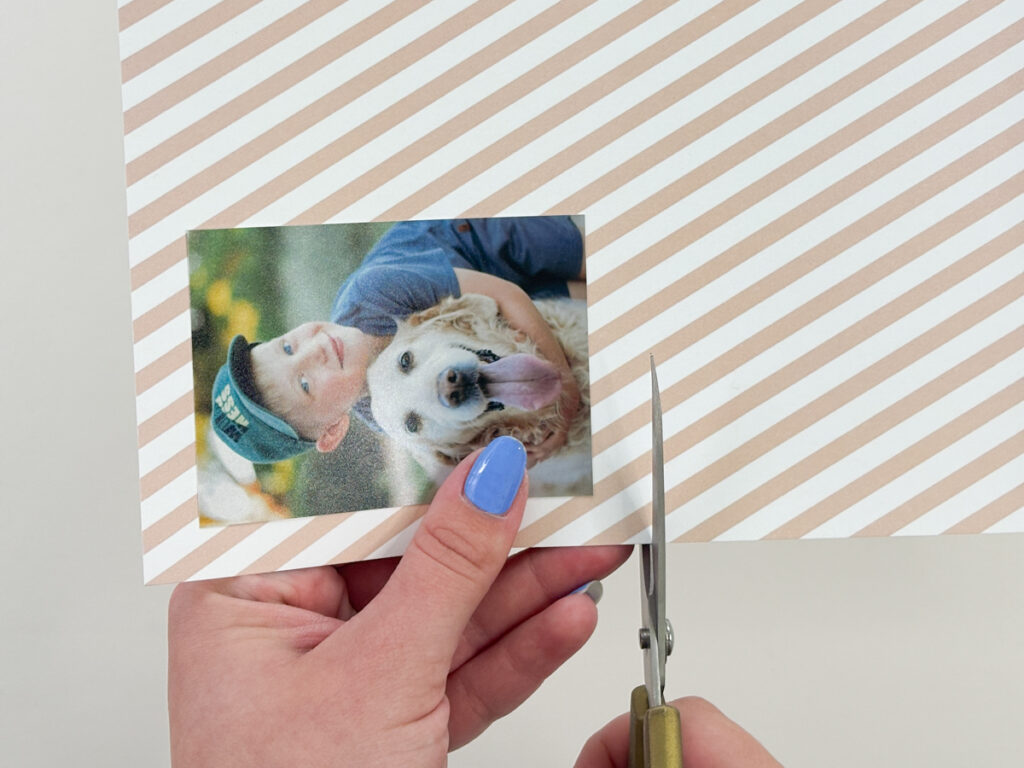
Mount Your Photo
Pick your photo and the paper you’ll want to use. If you are using our mini photo prints, you’ll cut your photos apart first. Then, you’ll add glue or tape to the back of your photo. Add your photo to your paper, leaving enough space for a cute border. Then use your scissors or paper cutter to cut the paper. You’ll want to help the younger kids keep their lines straight or cut for them. You can also add stickers and stamps to your border to give it a scrapbook vibe.
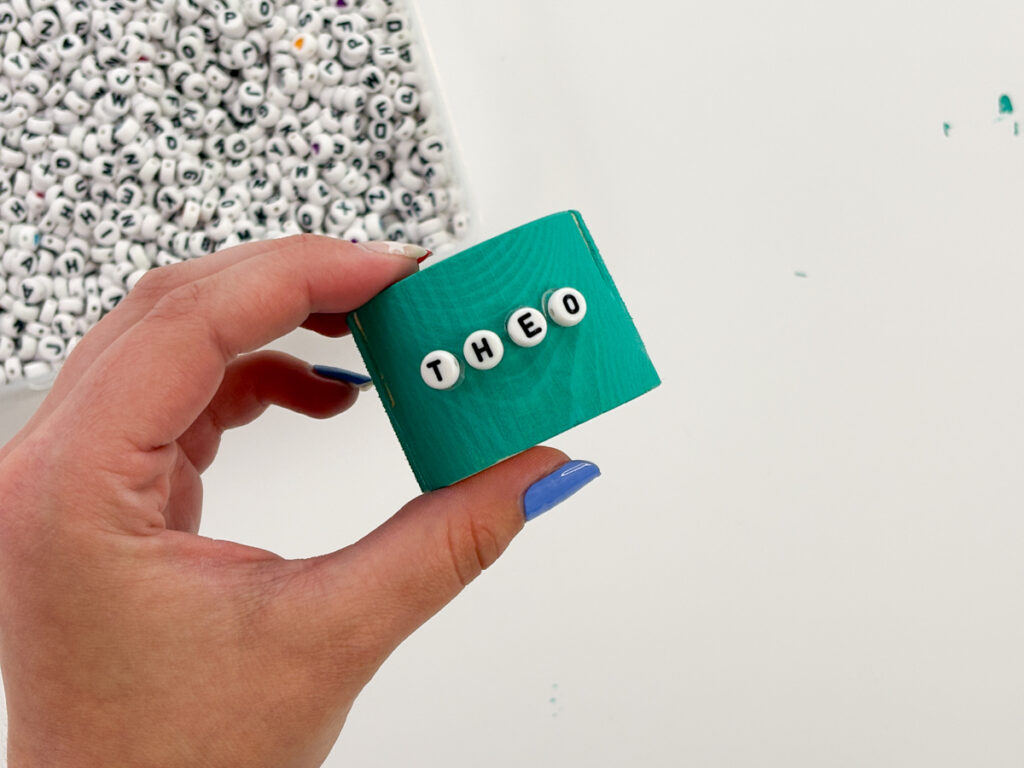
Add Details to the Woodblock
This is where you can let your kids be creative! Add cotton balls, glitter, stamps or whatever you have lying around. The more they add, the more fun it will be! We added some bead letters to make this woodblock stand out with a little 3D texture. We found that if you do add beads, use hot glue or some glue dots.

Let it Dry
Let your woodblocks dry completely before adding your photo to the stand. You might want to clean out the photo slot with a piece of scrap paper to ensure that no paint gets on your photo! Once it’s dry, add their photo, and now they have a fun photo display for their room!
This DIY kids craft is easy and low cost. Spend the afternoon crafting together and looking back on their favorite memories! You can also modify this for teenagers by creating larger photo collages to display. Wanting to give a try? Make sure to tag us in photos on social media @persnicketyprints or use #persnicketyprojects in your caption.