Hello and Happy New Year my memory keeping friends! I’m so excited to be back on the Persnickety blog, but I’m especially excited to be designing with the Studio Calico Roman Holiday Documenter Kit and using the flawless Matte photographic prints from Persnickety.
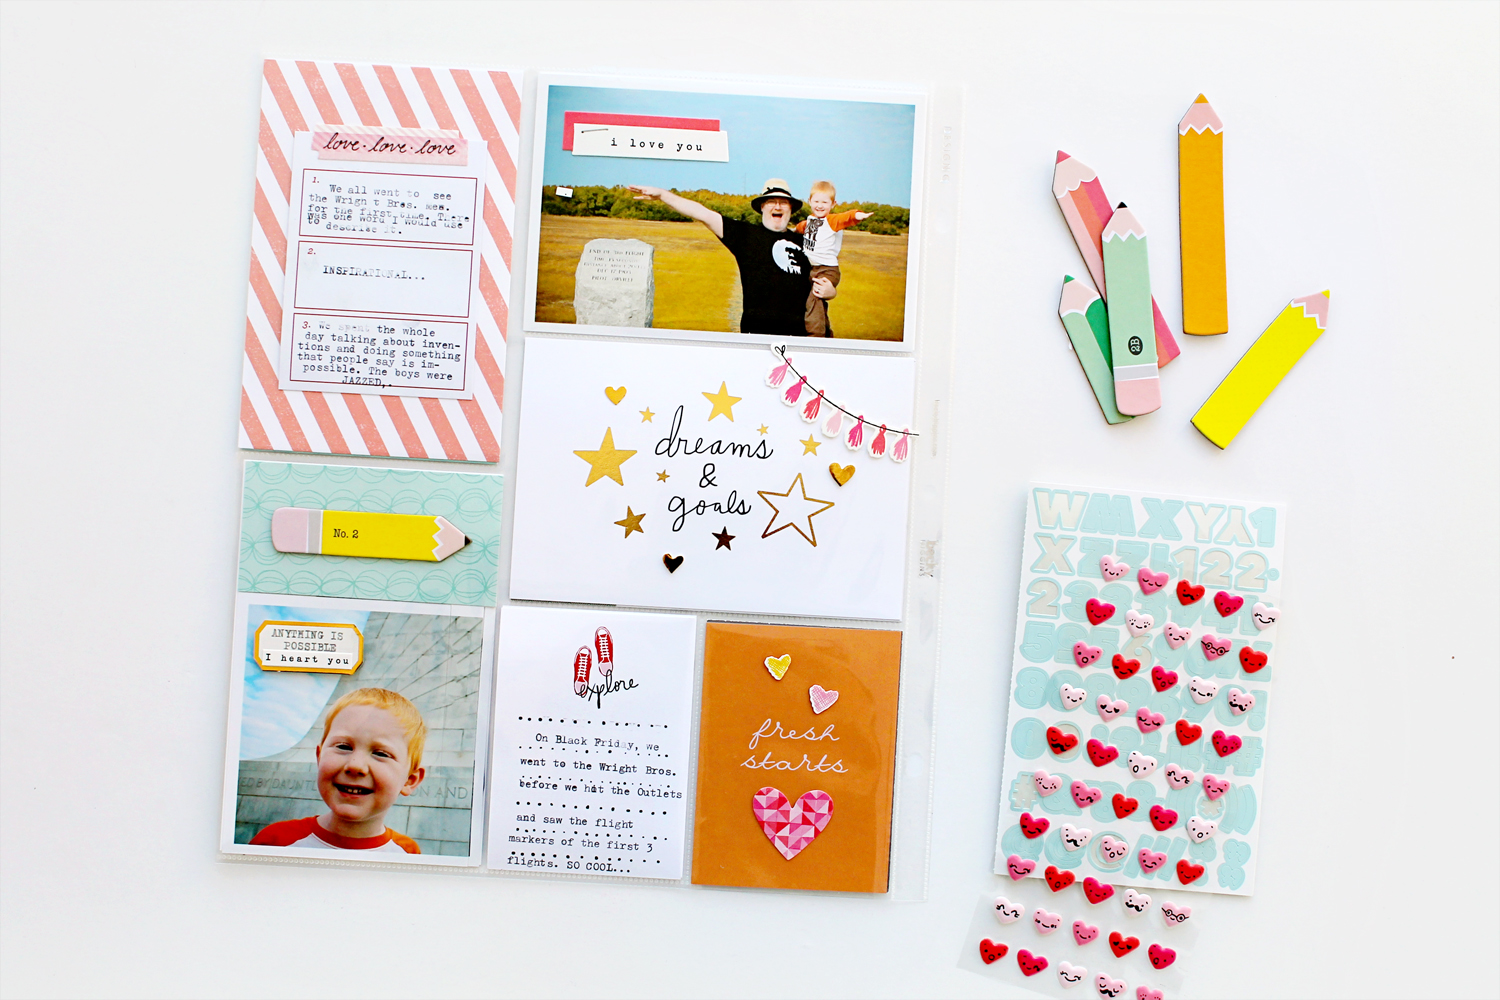
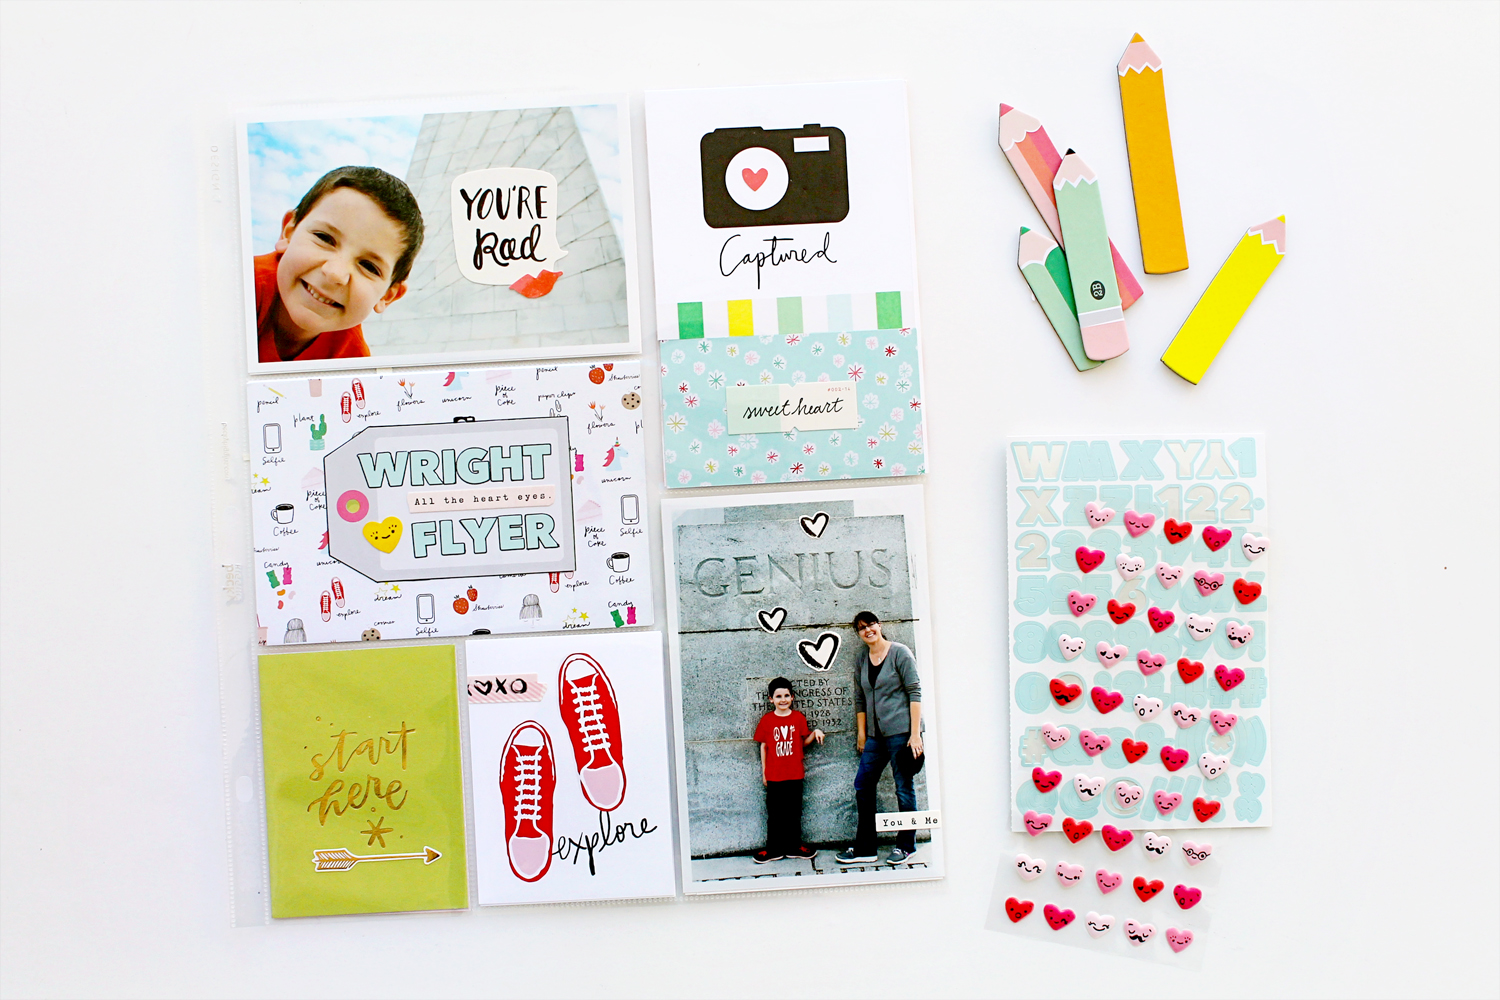
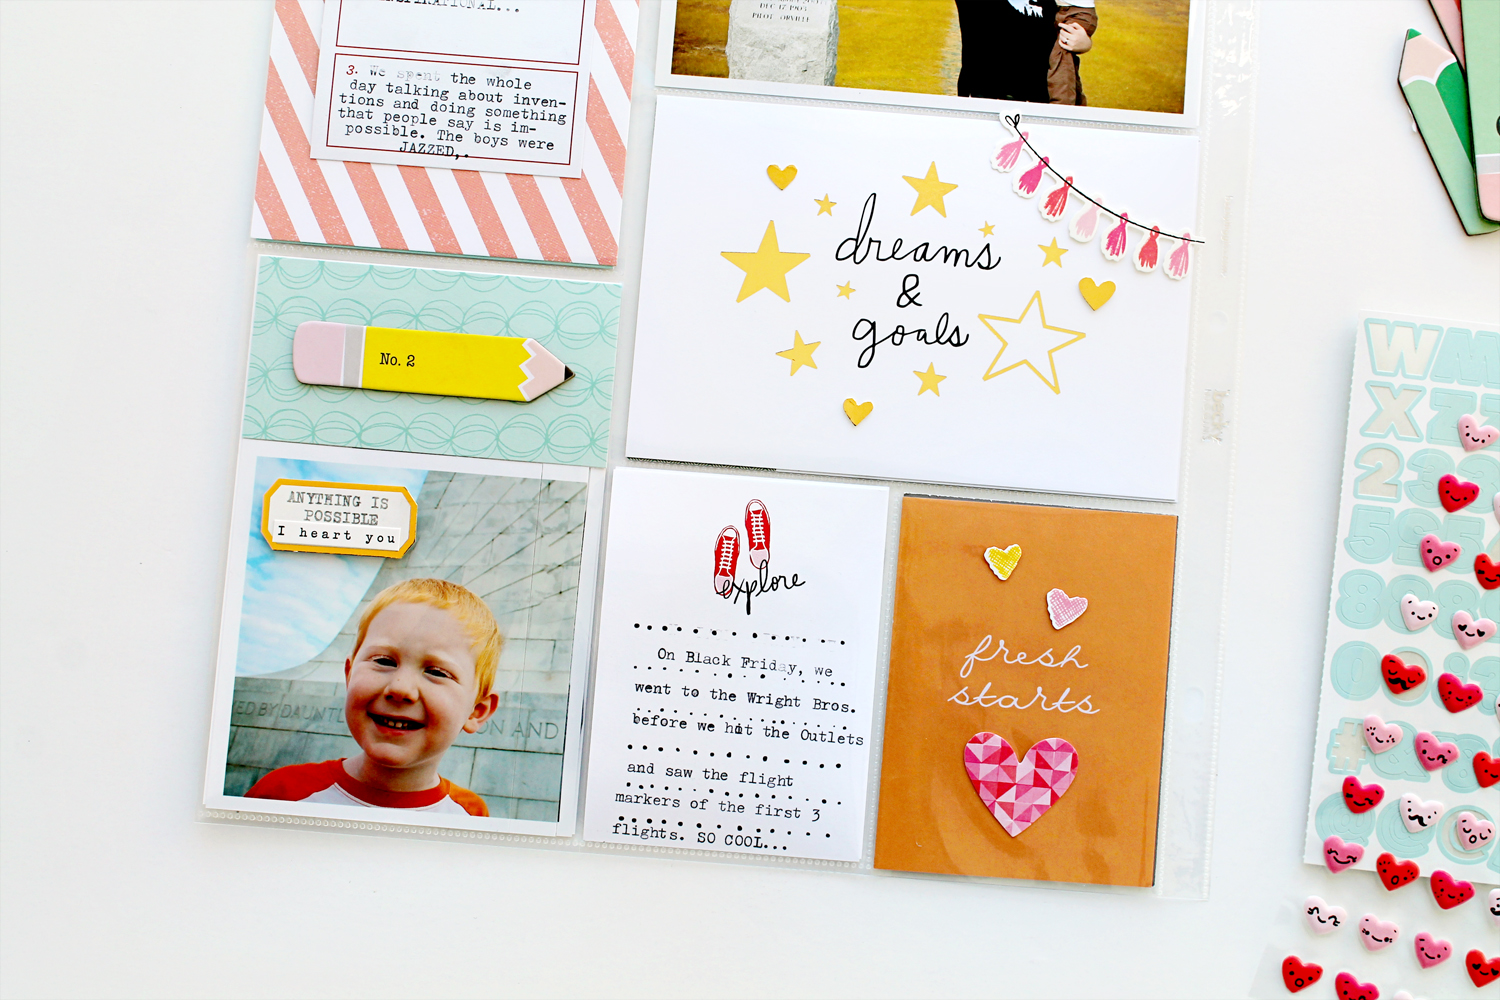
For a previous project, I had created a two page documenter spread of our Thanksgiving trip to the Outer Banks. Well, I had so many pictures from that trip that I decided to create an insert using a Project Life design G page protector, which is only about 10.5 inches wide. The plan was to fit the insert nicely between the two 12×12 pages of my November spread. I had used cards and embellishments from the Roman Holiday kit for the November spread and since the kits are jam packed I was able to use the same kit to make the addition of an insert seamless, as all the elements work together.

Whenever I edit a pile of photos from a trip or a day at the park, I always edit and print more than I will use. I’m rubbish at making design decisions before printing my photos, so I save myself the hassle and print all the photos I adore. It only costs me a few dollars more, but it allows me to make my creative choices in the moment when I actually sit down to create. I also love that I have extra photos lying around for an impromptu scrapbook page, or for my kiddos to use in a project or simply tape to the walls with some washi tape.
In order to make this system work for me, I often stick with a few predetermined sizes and borders, that way I don’t have to worry about the photos fitting the right pockets and coordinating with one another during the creation process. I will often get a number of photos in the Matte photographic paper in the 4×6 size with a white border, a few in the 4×4 size and then another few of the 3×4 retro prints. With all those options, I know I’ll have my spreads covered and looking great.
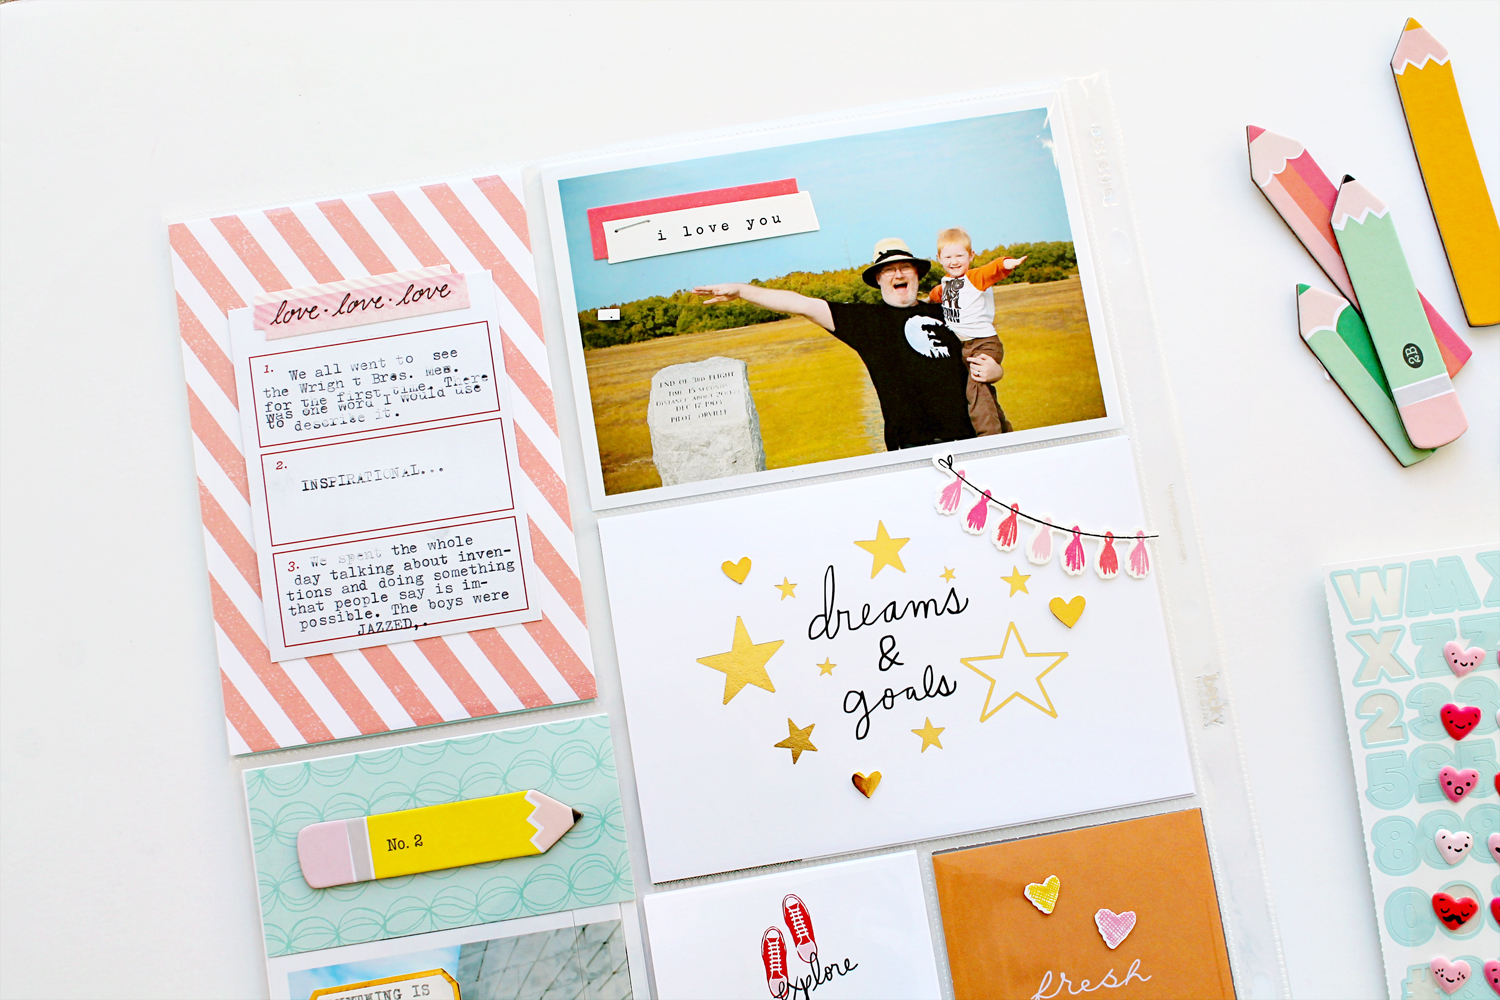
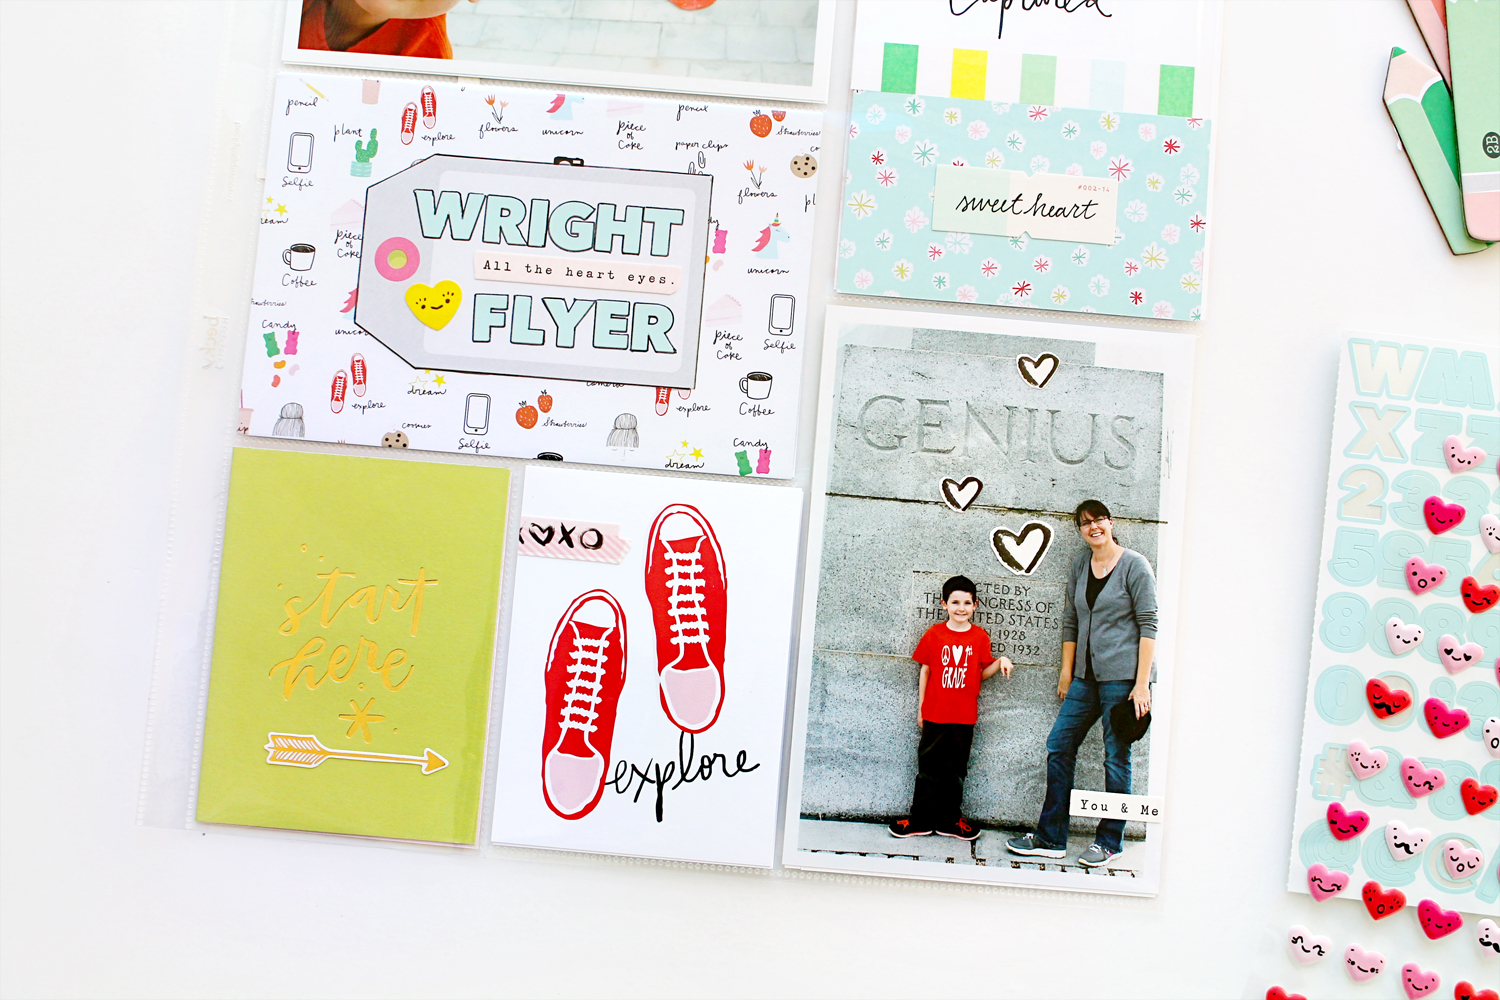
For this insert I added a number of stickers from a fabulous Valentine themed sticker sheet that came in another Studio Calico add-on kit. I loved how easy it was to use the valentine stickers to add character to my non valentine themed spread. I simply steered away from the obvious “Be Mine” and “valentine” phrased stickers and was able to add all sorts of beautiful little touches that didn’t overwhelm the project.
Also, it’s very important to note that the stickers don’t stick permanently to the surface of the Matte Photographic Prints, which means that I was able to play around with my sticker placement on the photos themselves without having to commit. If I didn’t like where a sticker was stuck, I just peeled it up and moved it! This is definitely not the case with other photo papers I’ve used in the past. Once a sticker made contact, there was no going back.
I also want to note, that I had to crop the 4×4 photo above to fit the space. It was originally a 4×6 photo. I added the sticker to the outside of the pocket, as I have plans to re-print that photo in a 4×4 size when I place my next photo order. I’ll just pull the sticker off the page protector and adhere it to the new photo and slip the new photo into the pocket. So remember, you can get a little creative with your trimmer to make your photos work for your pockets, and none will be the wiser.
Thanks so much for reading today. Have fun with a new year of memory keeping and don’t be afraid to add inserts, print too many photos or cut photos up. Remember this hobby brings us joy, have as much fun with the process as you possibly can!
Happy crafting!
Carson