Prints

Gifts

Wedding

Explore


Print Bleed

For many years, the print industry has used “print bleed” to ensure that the printed area extends all the way to the edge of the paper. It is an extra ⅛ of an inch added to each side of the file, and it is eventually trimmed in the printing process. 

Our goal at Persnickety is to print your image centered evenly with as little overlay as possible.

Designing for Bleed

We recommend to keep any important design elements at least ⅛ of an inch away from the edge of the print. We also recommend keeping any text at least ¼ of an inch away from the edge of the print to ensure even spacing. 

Borders – If your layout has a border that is less than a quarter of an inch, it can appear uneven or disappear on one or more edges. We recommend having at least ¼ of an inch border + bleed for thin borders that will consistently look even. 

Photographic Printing Bleed

Your image will appear as expected as our photographic trim is less than 1/8 of an inch
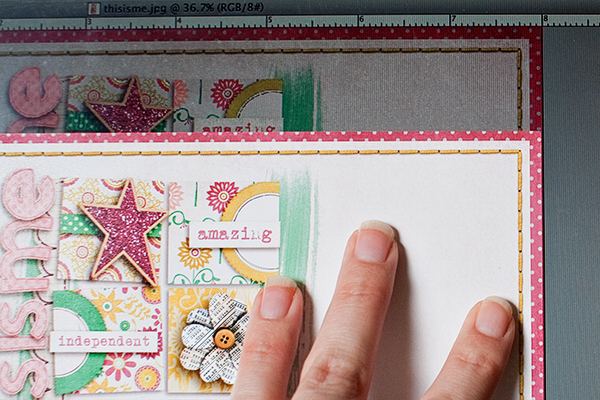
photographic print bleed
 

Press Printing Bleed

Double Sided and Fine paper prints are NOT printed edge to edge, therefore require .25″ added bleed for trimming.

Example: 5×7 press print must be designed at 5.25×7.25

Persnickety certified lab techs optimize and look at every single print before, during and after it’s printed. If we don’t get it right, we print it again.


Why do we need bleed?

Printing and cutting machine’s measurements are regularly calibrated and can achieve high levels of precision, but hit their limit at ⅛ of an inch. If files are printed at their exact final print size, it can result in white slivers at the edge of prints when the printer or cutting machine are slightly off. To prevent this, we ask that all files come in with print bleed – about ⅛ of an inch of extra print on all edges. 

Bleed is the amount of space needed to print from edge to edge without a white border.
Full Bleed = Edge to Edge printing For single page photographic prints: machines allow for a slight difference in print sizes and alignments by overlaying your image over the paper to avoid having a white border. The problem with this is you can lose a good portion of the edge of your layouts.