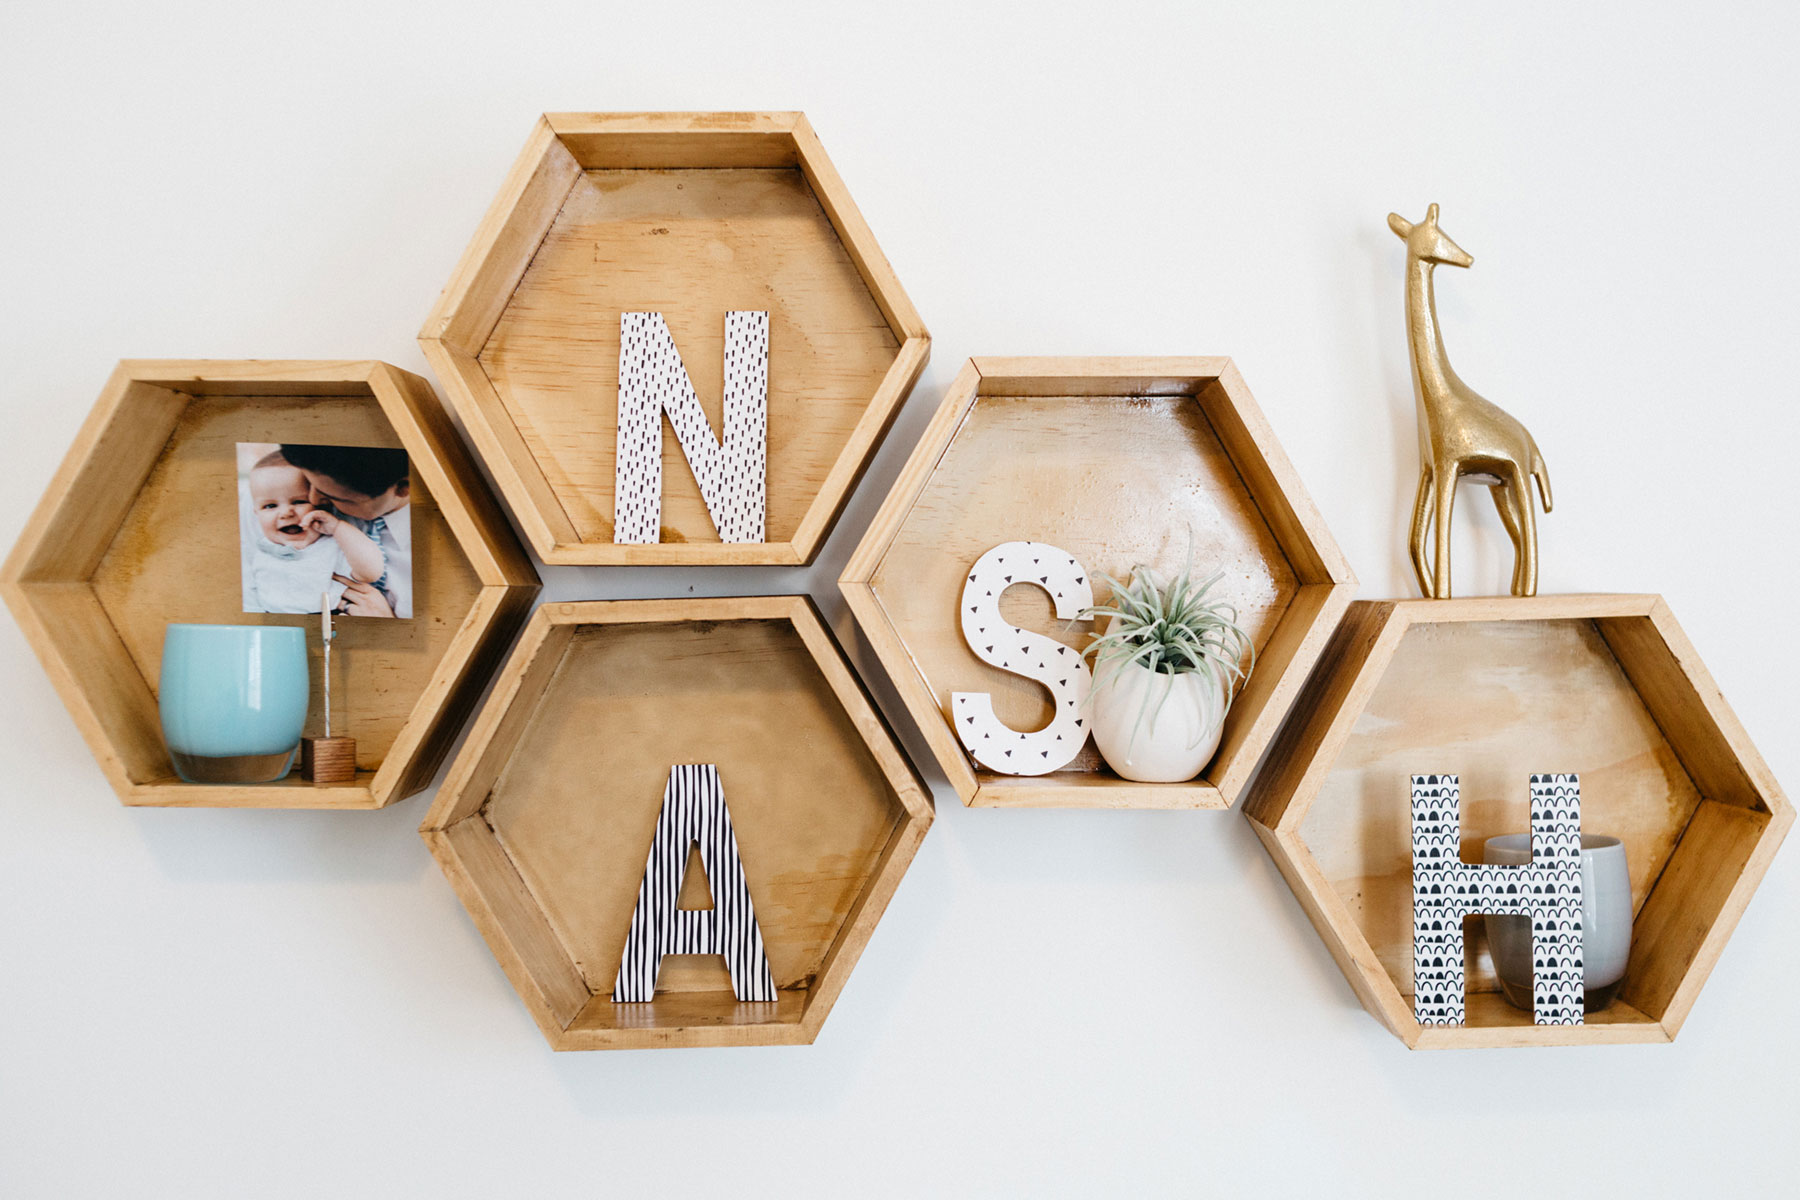
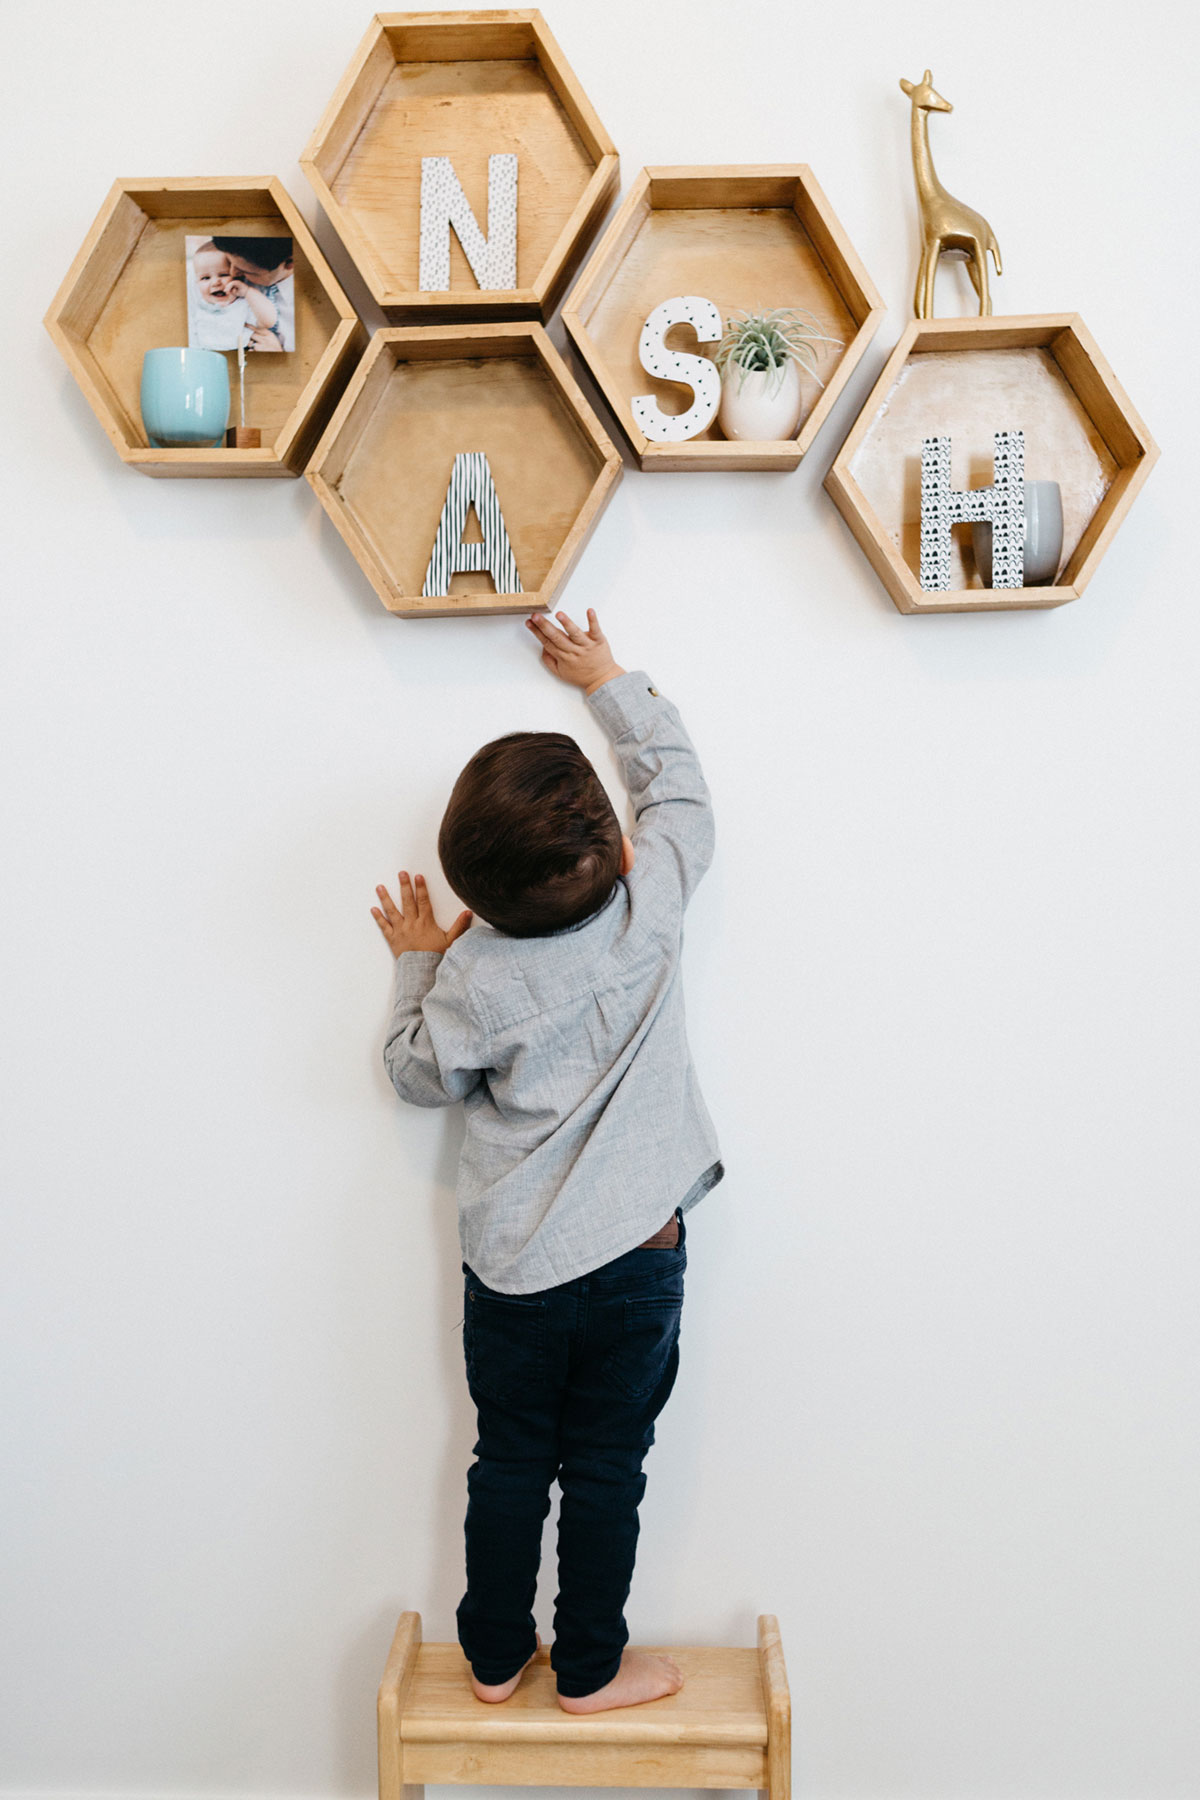
An affordable way to personalize any space! Today I am going to show you how I use Mod Podge to adhere prints on wooden letters for my son Nash’s bedroom. The total cost depends on how many letters you’ll need. My project cost less than $12!
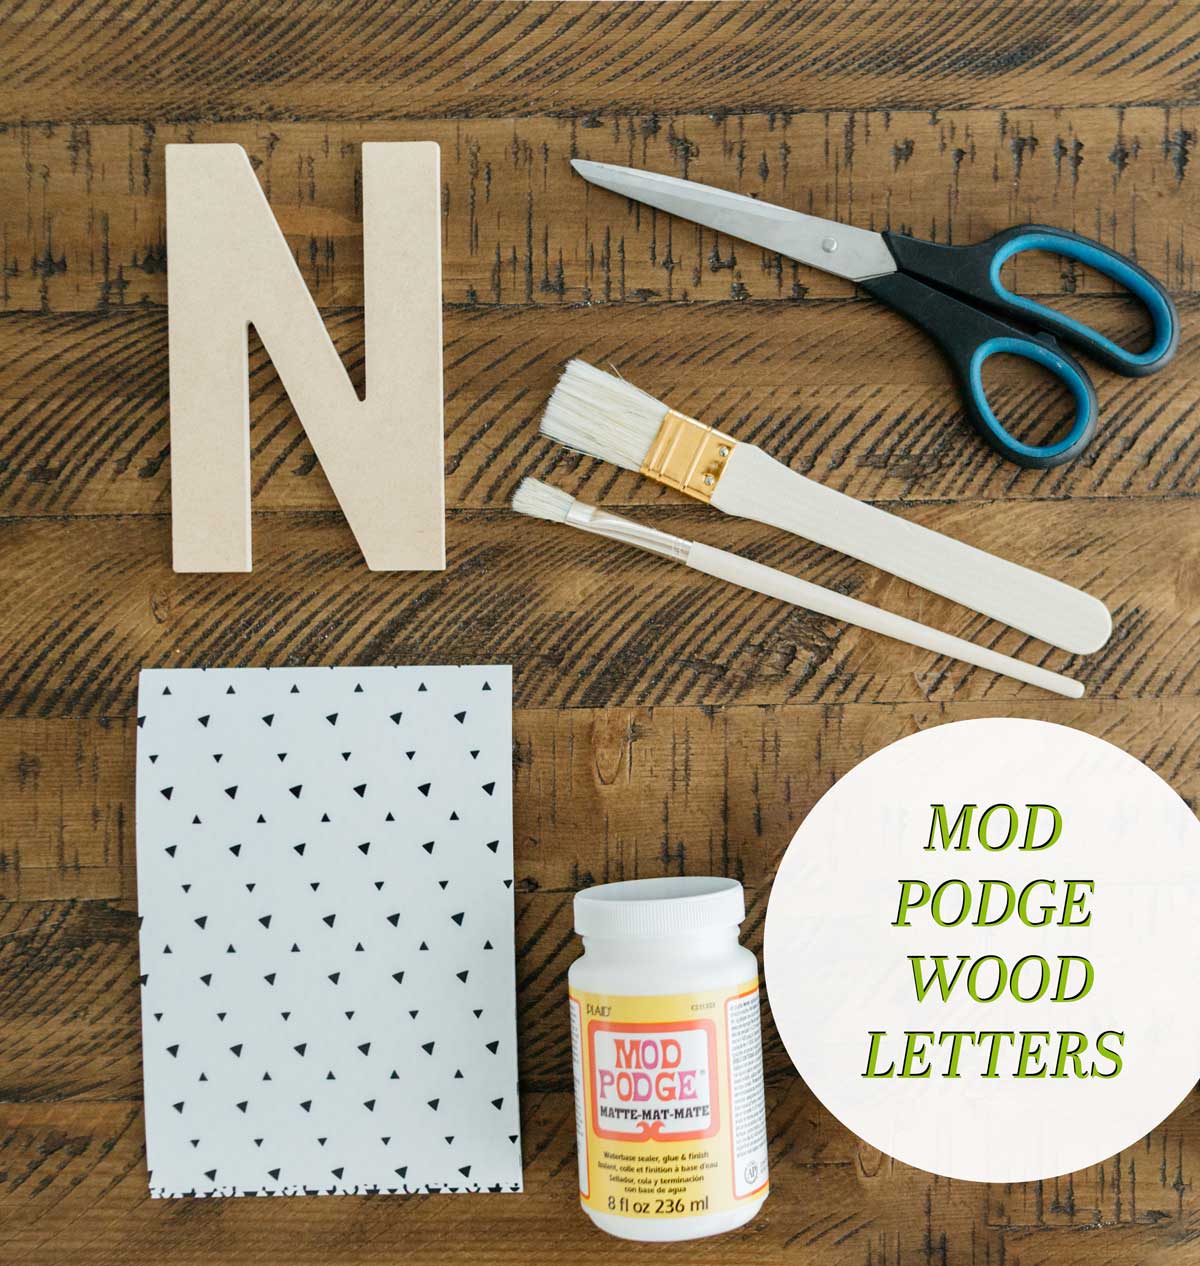
Supplies:
- Scissors
- Paint Brush
- Mod Podge glue
- 5×7 Photographic Prints
- Wood Block Letters
Step 1: Find a digital pattern to print or use photos!
Nash’s room is black and white. I didn’t want to design my own pattern, so I bought black and white digital 12×12 papers on Etsy from LittleMoodles Shop. You could use photographs, free downloads from unsplash or papers from your digital scrapbooking stash if you have one. Close to My Heart has papers and 11.5″ chipboard letters that would work great!
I uploaded the individual 12×12 jpgs to my Persnickety Prints account and ordered 5×7 photographic prints. Be sure to choose Persnickety’s photographic prints, because these are real photographs, there is no ink that will “bleed” when applying the mod podge.
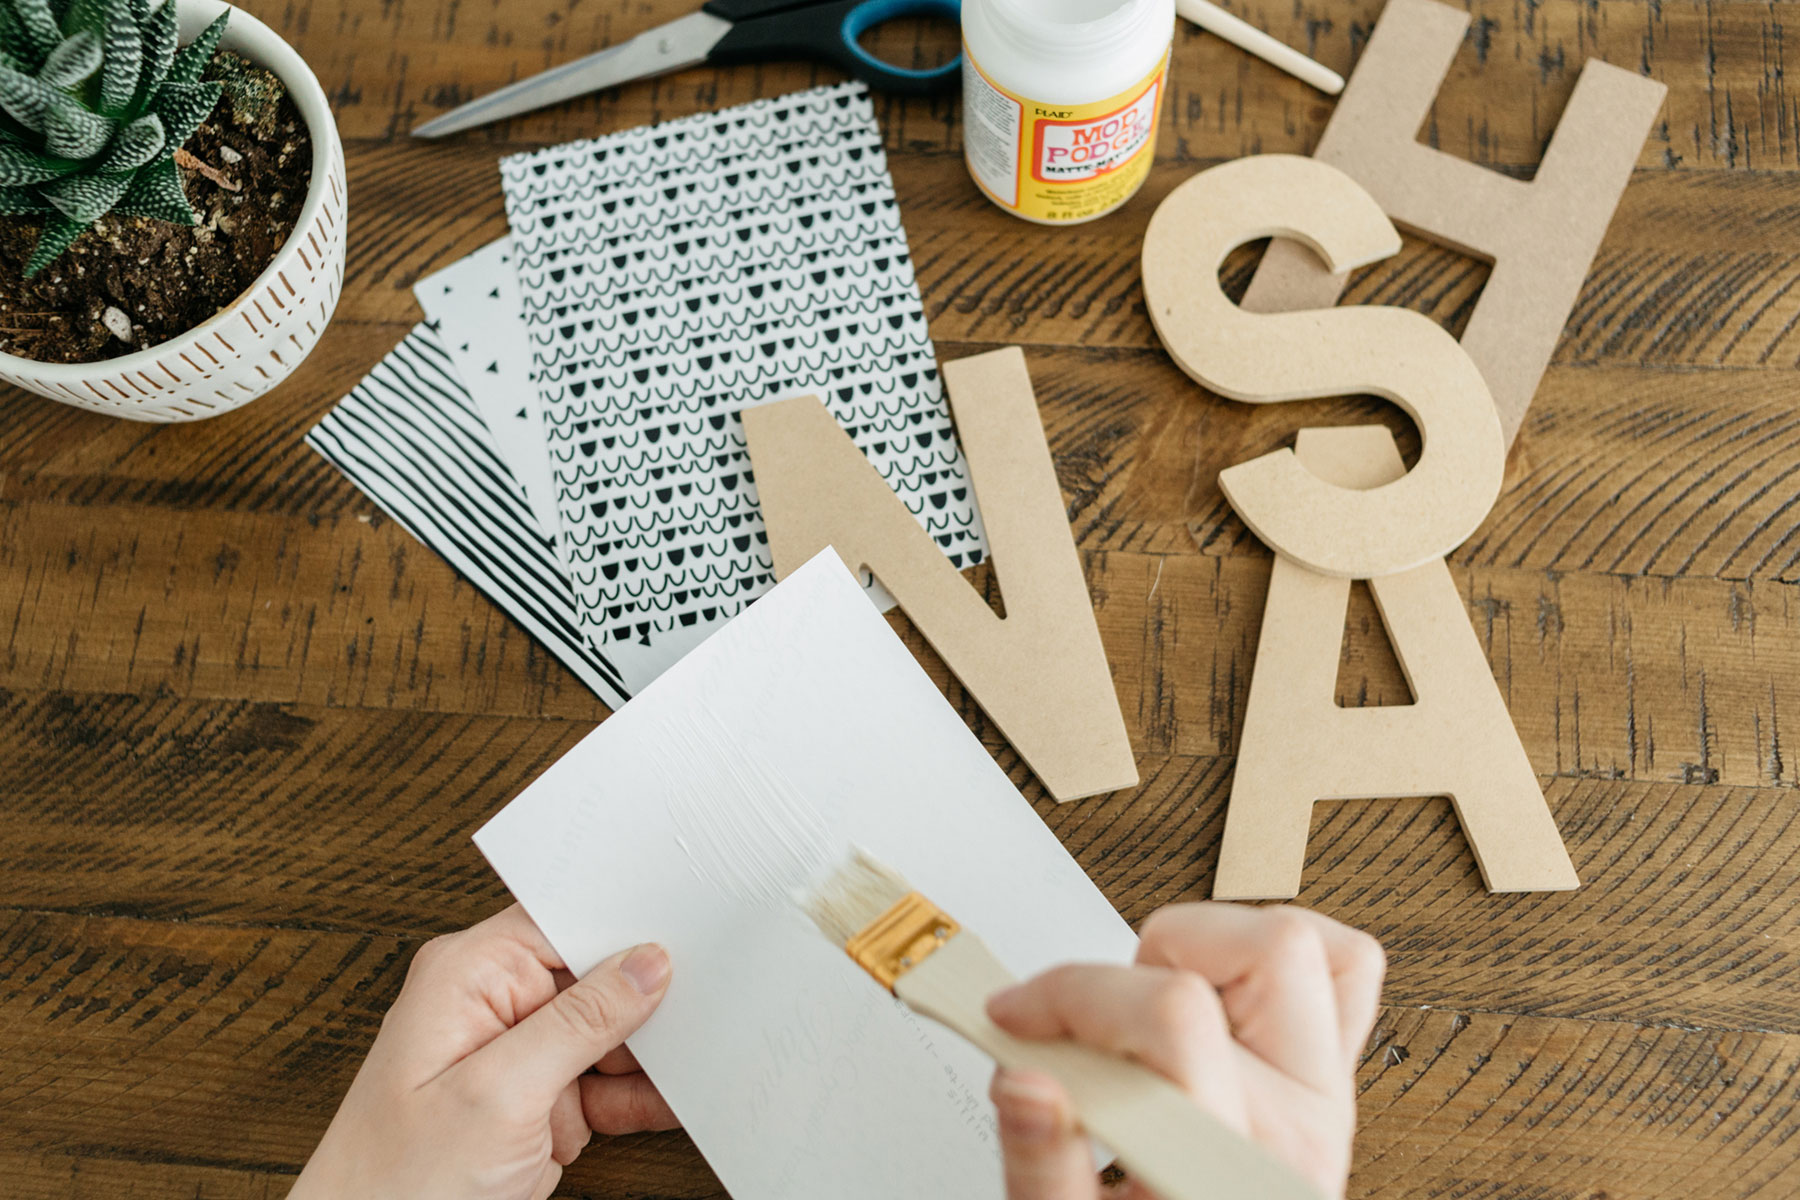
Step 2: Paint the Mod Podge glue onto the back of the 5×7 photographic print.
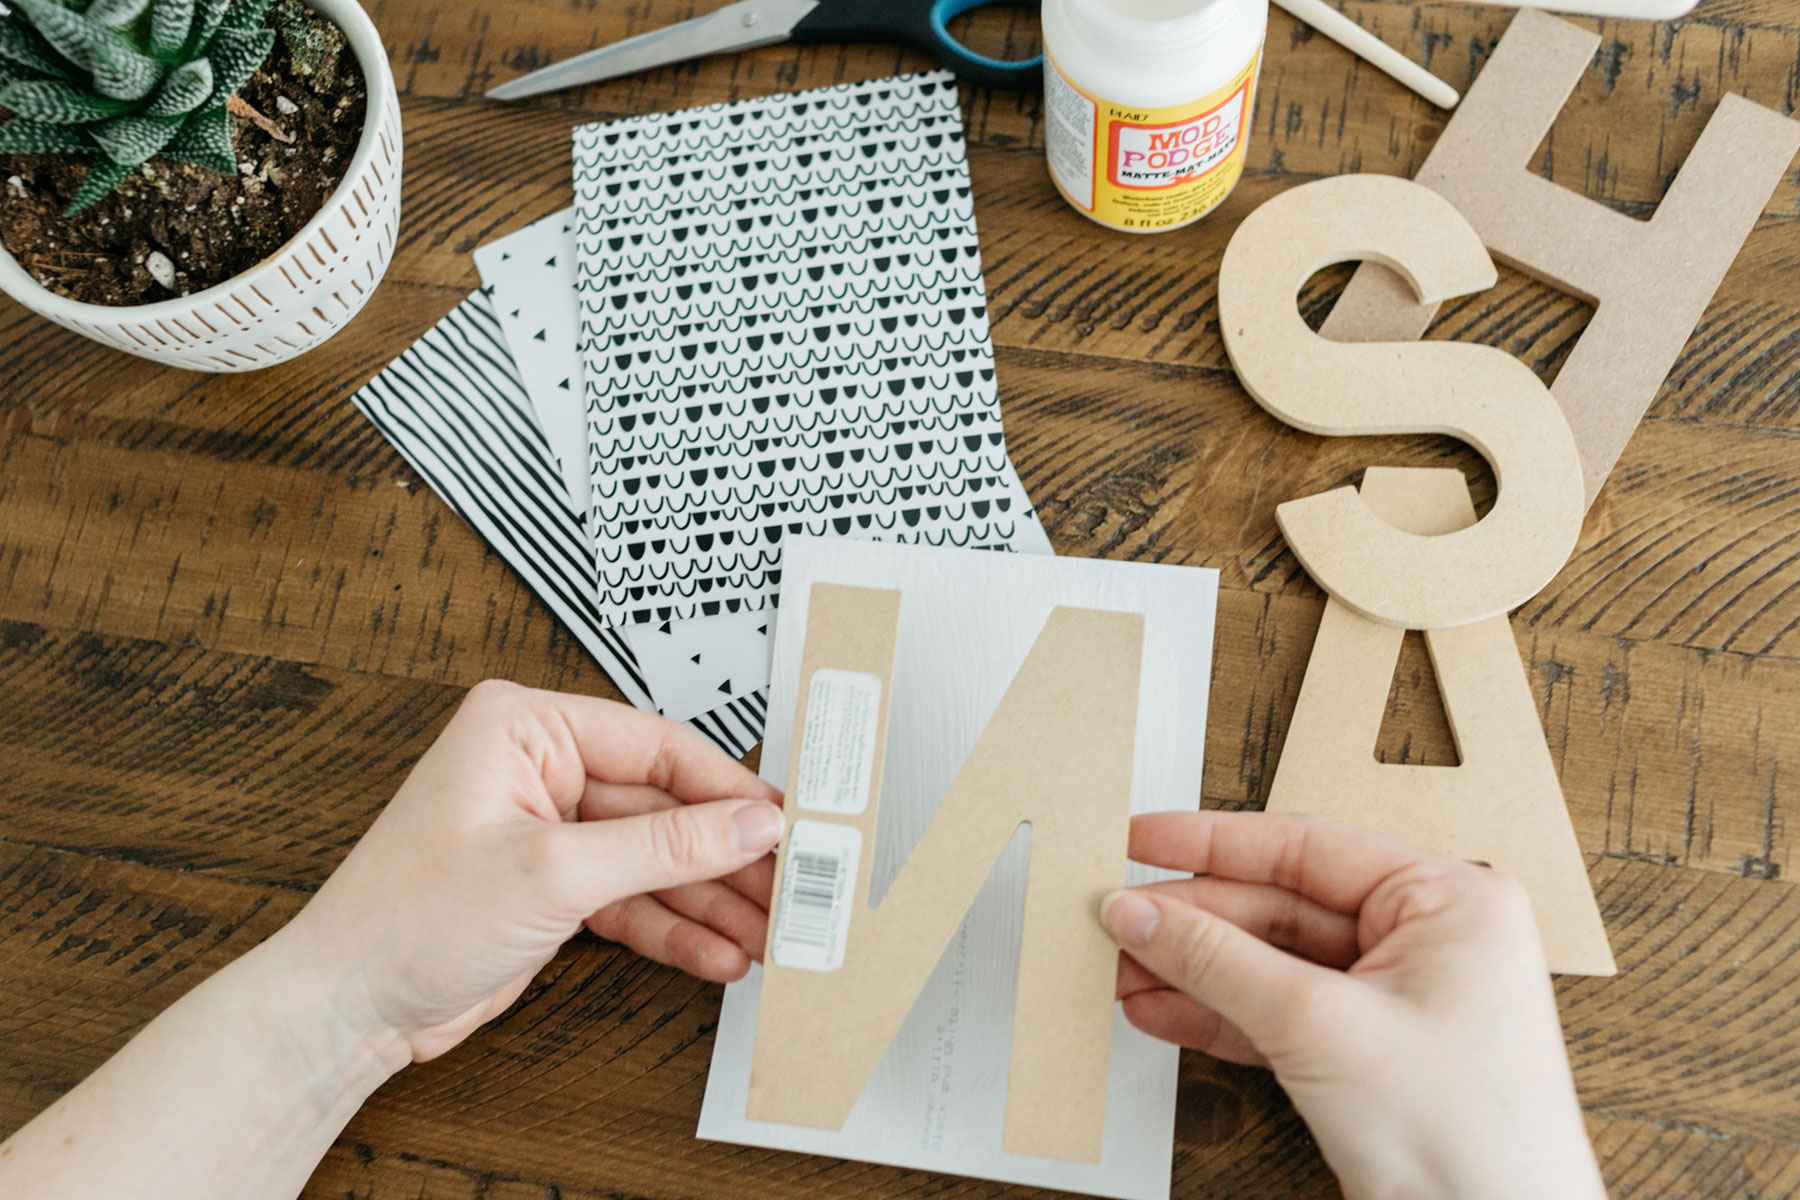
Step 3: Place a wood letter block onto the glue on the 5×7.
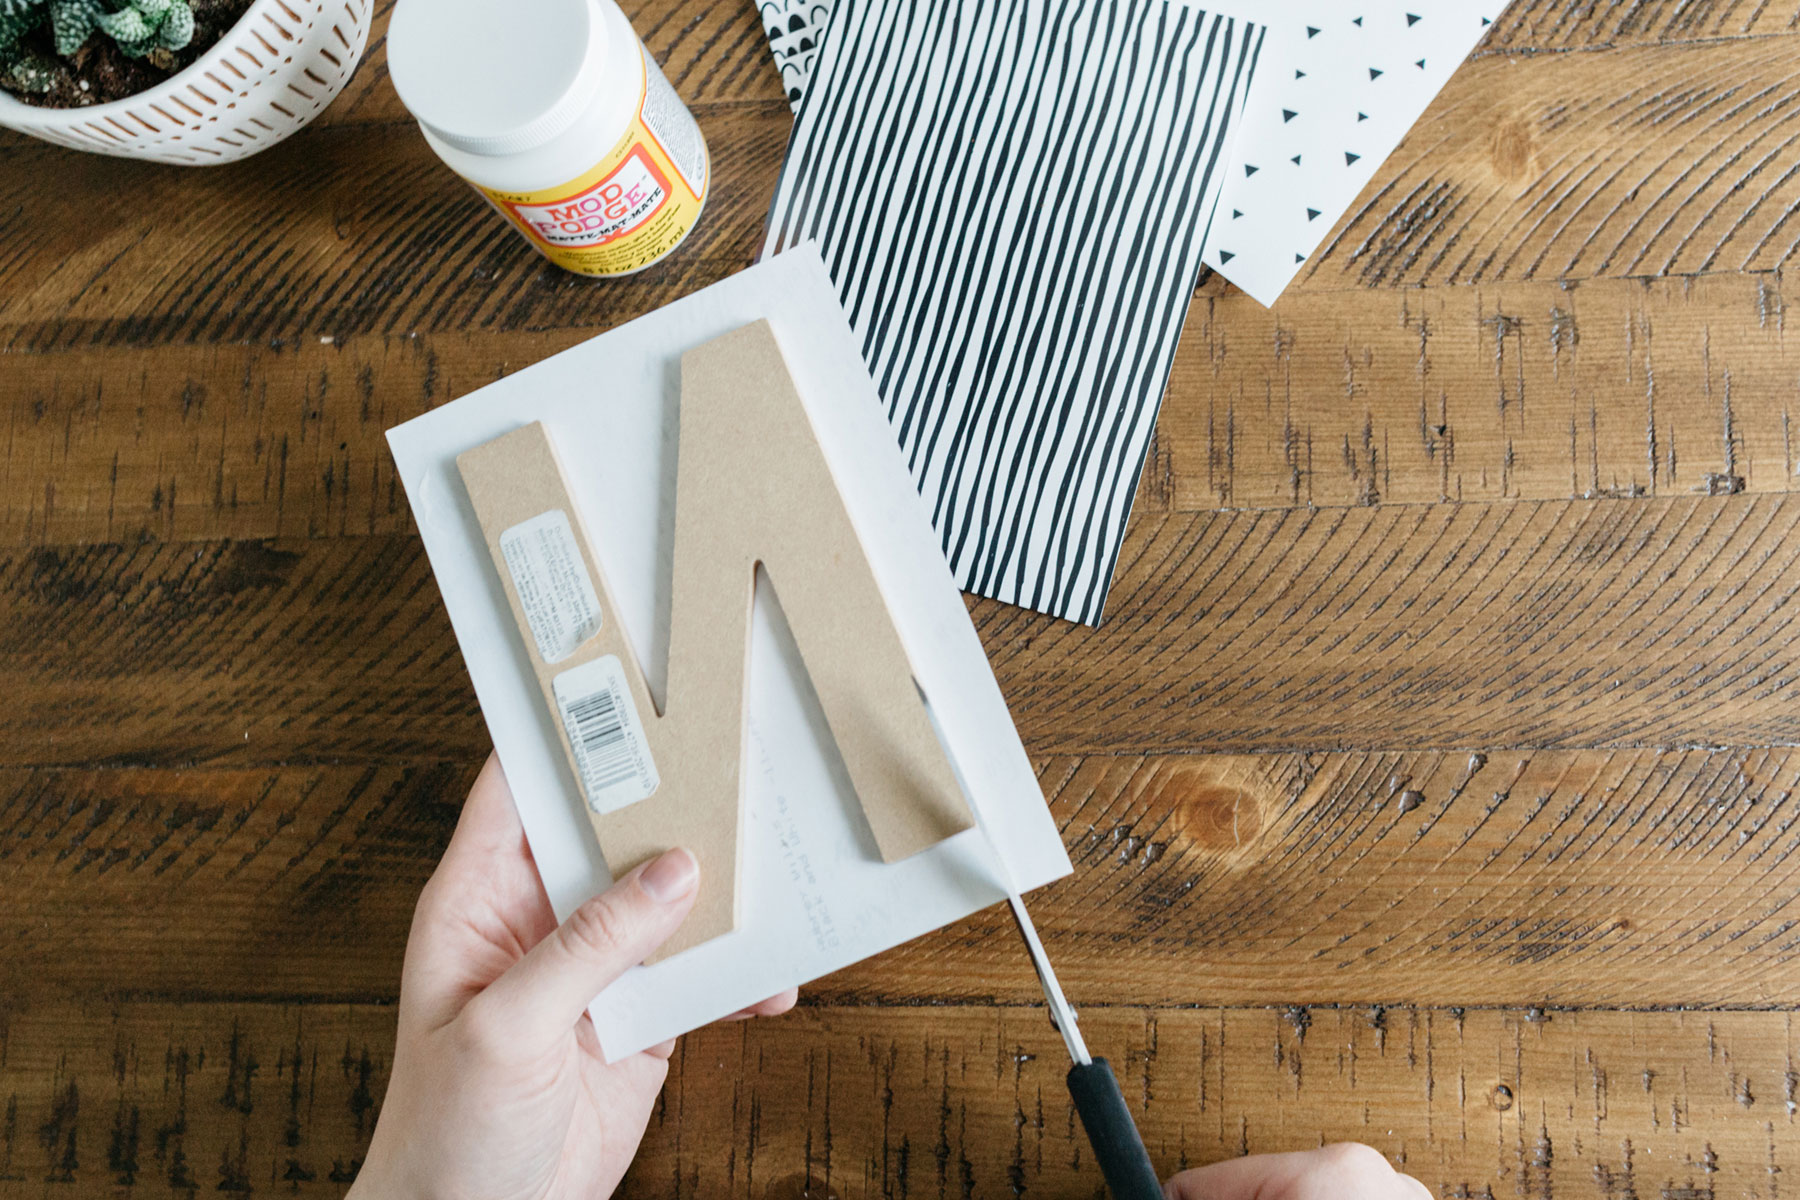
Step 4: Let the glue dry and then simply cut out the letter.

Step 5: Paint the Mod Podge glue over the photo and letter block and wait for the mod podge to dry. This is where the magic happens! The finish has a nice clear, sheen finish.
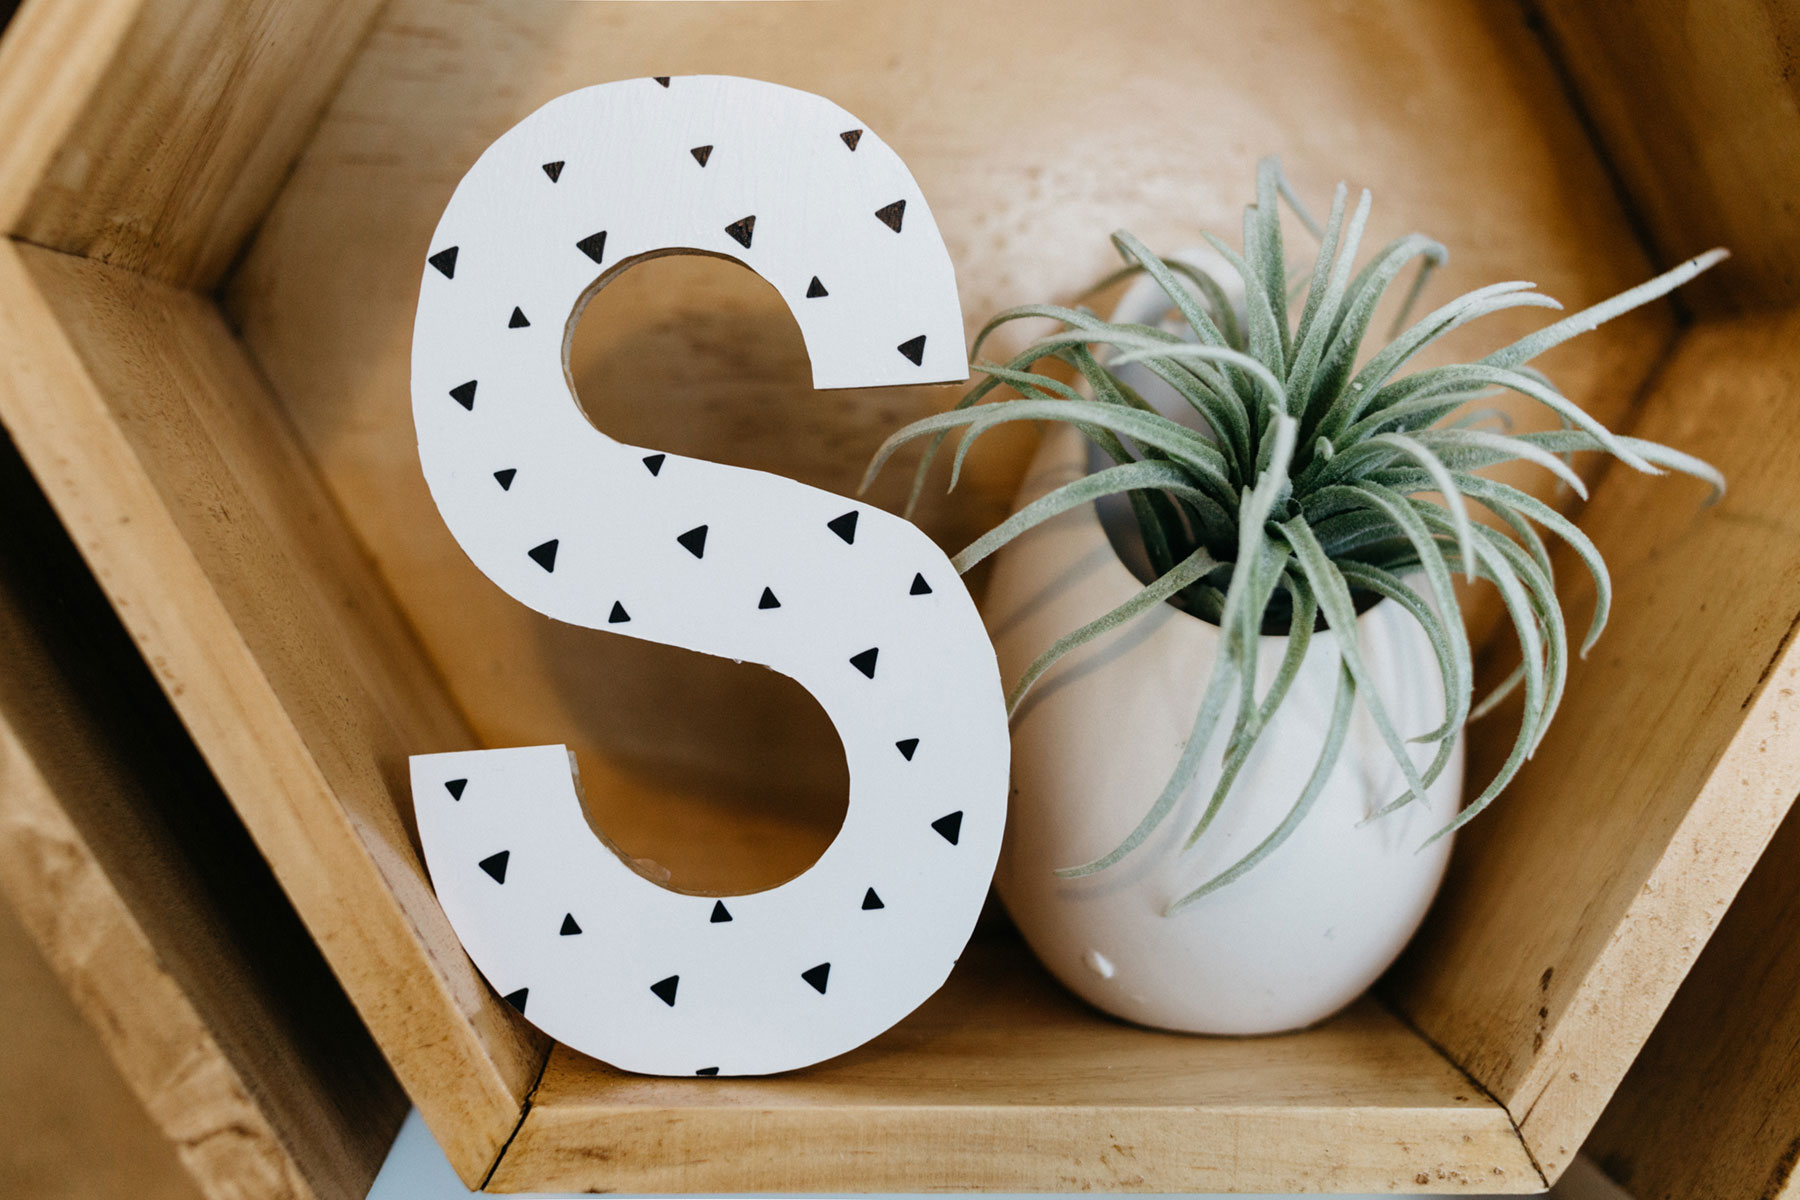
That’s it! Display the wooden blocks and enjoy!
Don’t forget to share your projects and tag us on social media! #persnicketyprints.
xoxo, Aubrey