Need easy and affordable decor? Our customizable Collage Wall Kits are a great solution for all areas, from trendy teen bedrooms to modern office spaces. Here at Persnickety Prints, we’ve tested these products in our own Lab and homes over the years and have compiled our advice on how to elevate your space with a collage wall.
1. Take the time to design
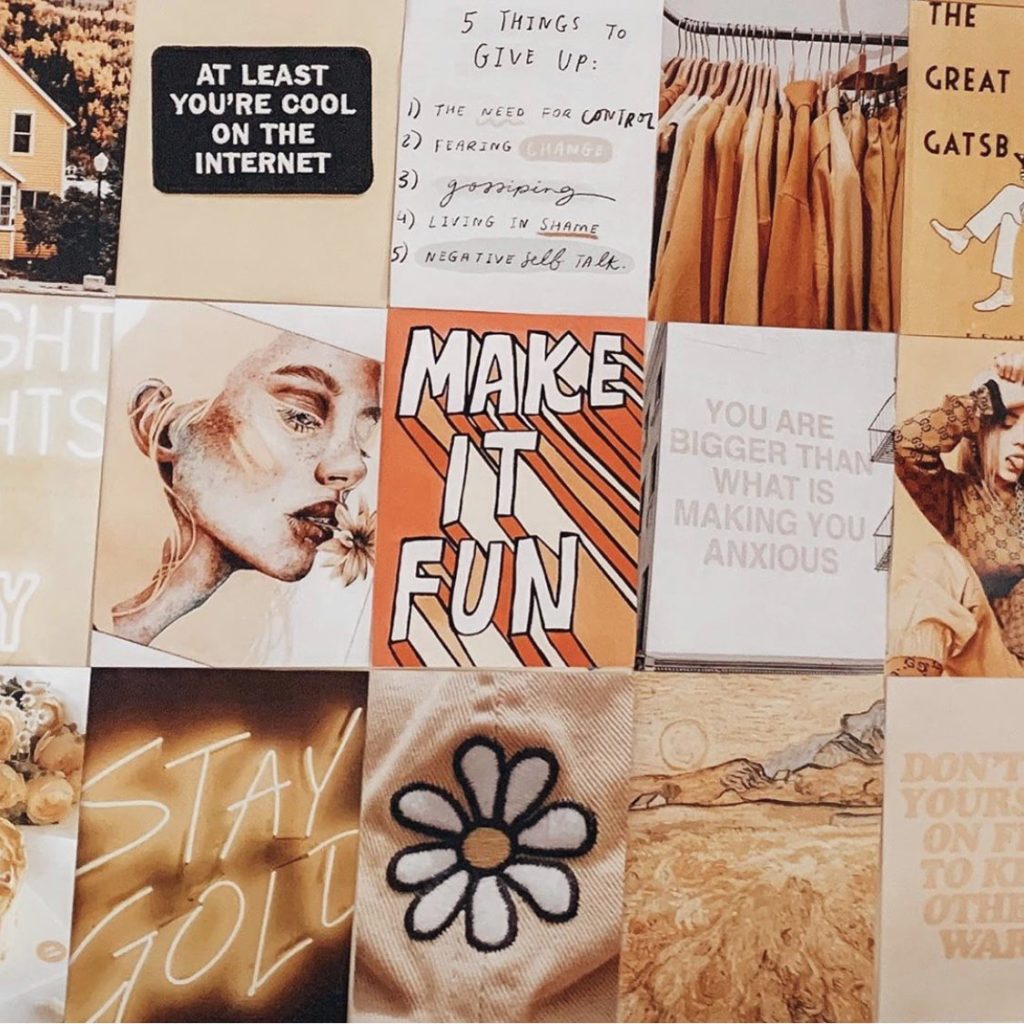
Consider your color story – what colors bring you happiness, or what would go well with what’s already in the room? Also, finding a balance of text, photography and art graphics helps to add variety and visual interest. If the coloring of your photos don’t match your color story, we recommend using a filter on your images, to enhance or add tones for a beautiful, cohesive look. If you are having a hard time narrowing down your pictures, the Collage Wall Kit includes 100 of prints for only $59.99 and you can always add more – the more, the merrier!
2. Ensure your files are high resolution.
With professional printing, we recommend all images to be 300 dpi at the intended print size for clear, beautiful images. What does that mean? Multiply the length and the width of your desired print size by 300, and that will tell you how many pixels the image needs to be. For this 8.5×11 collage wall kit, you will want to make sure that it is 2,550 x 3,300 pixels. Sometimes going a little smaller is fine, but we do not recommend going less than 200 dpi, or 1,700 x 2,200 pixels.
3. Just add blue tape
Our collage wall kits will arrive loose and ready to hang for easy application. After multiple rounds of testing we’ve found that using blue painters tape yields the best results – it’s strong enough to not worry about prints falling off the wall, but not too sticky if you need to gently readjust or reconfigure your wall. Our 100# soft recycled textured paper sets us apart because it is thicker and stronger than many other collage wall kits; it can handle being gently removed and repositioned.
4. Light your design
You’ve spent the time designing a wall you will love, so take the extra step to light your work. From formal picture lights, string lights to neon signs- lighting your collage wall kit not only adds a dash of personality, but helps you to see the prints. On a budget? We recommend editing and lightening the files. Files tend to print darker than most people anticipate since we are used to seeing them backlit on our phone screens. Lightening the files will help them look closer to what you see on your screen, and help you enjoy the finished result of your project.

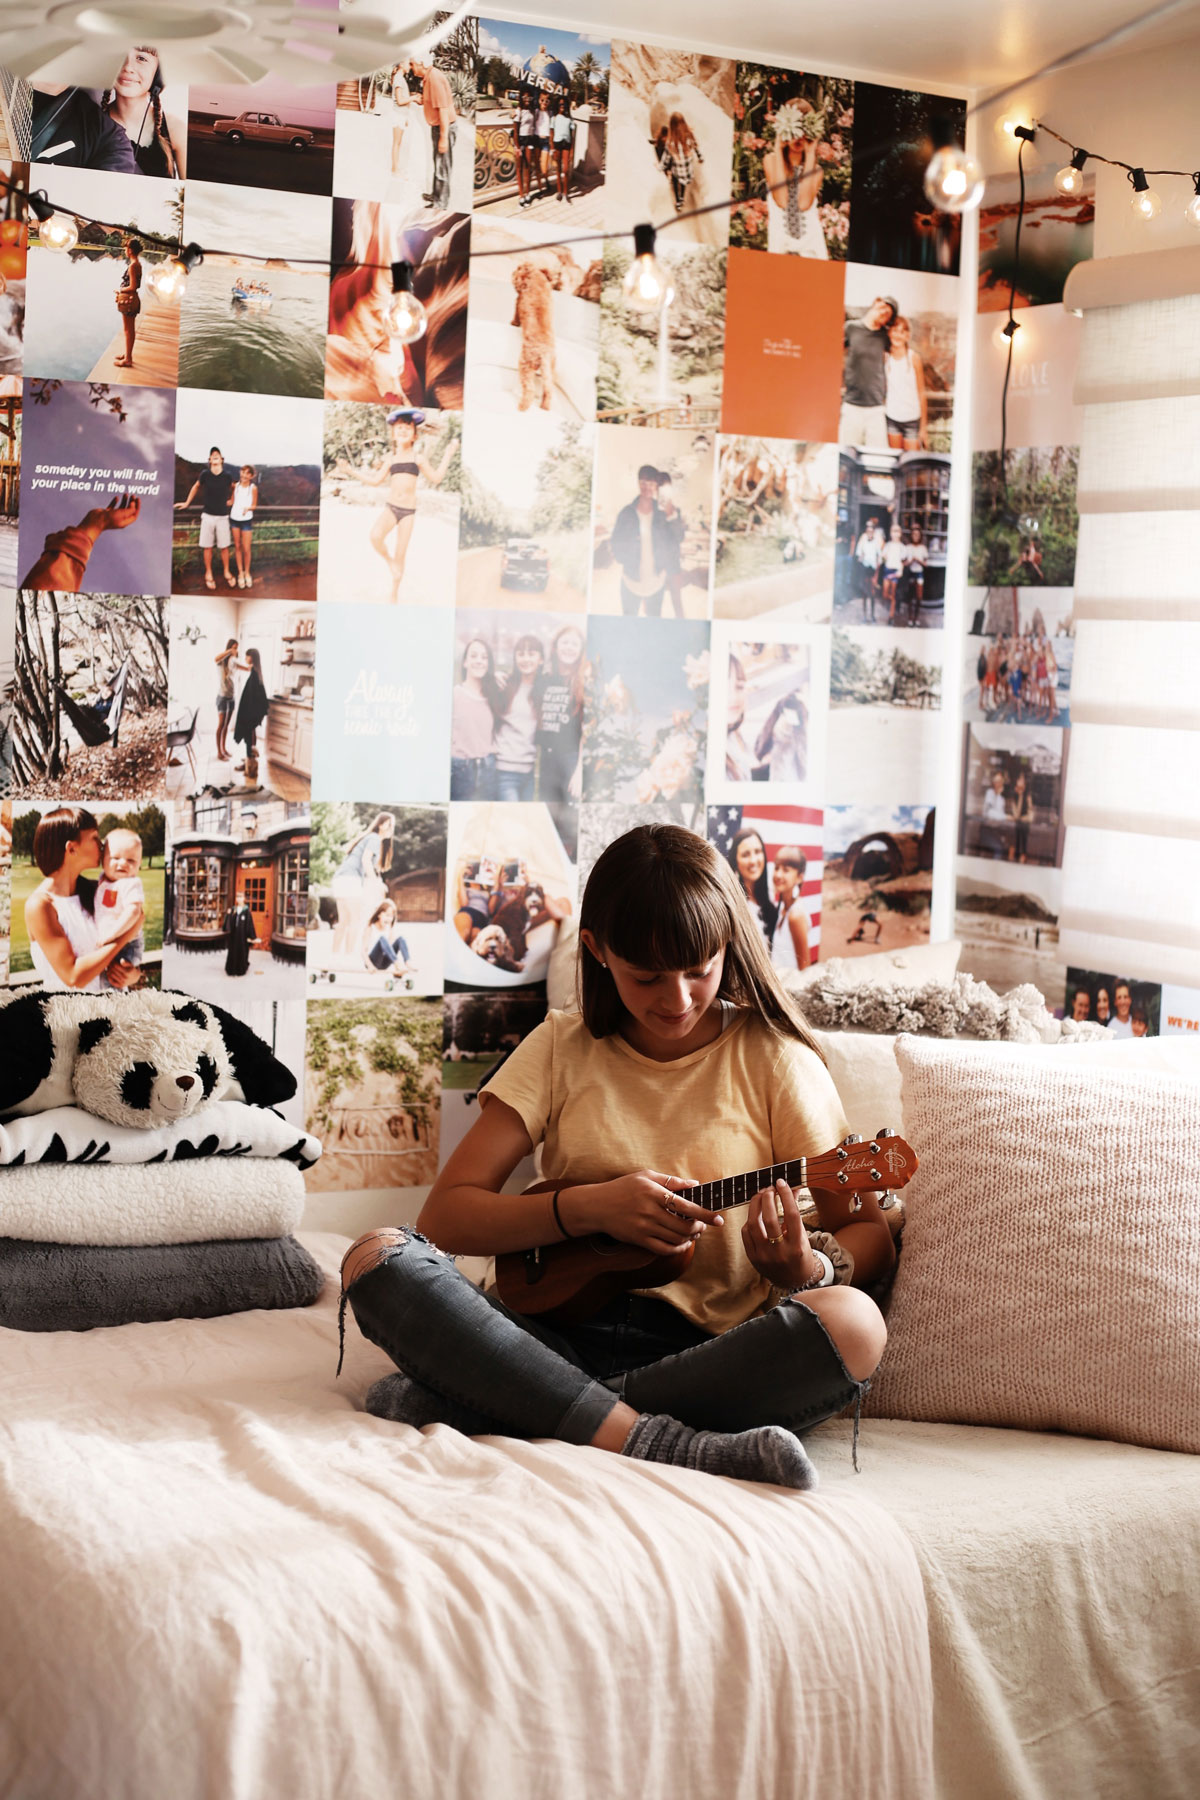
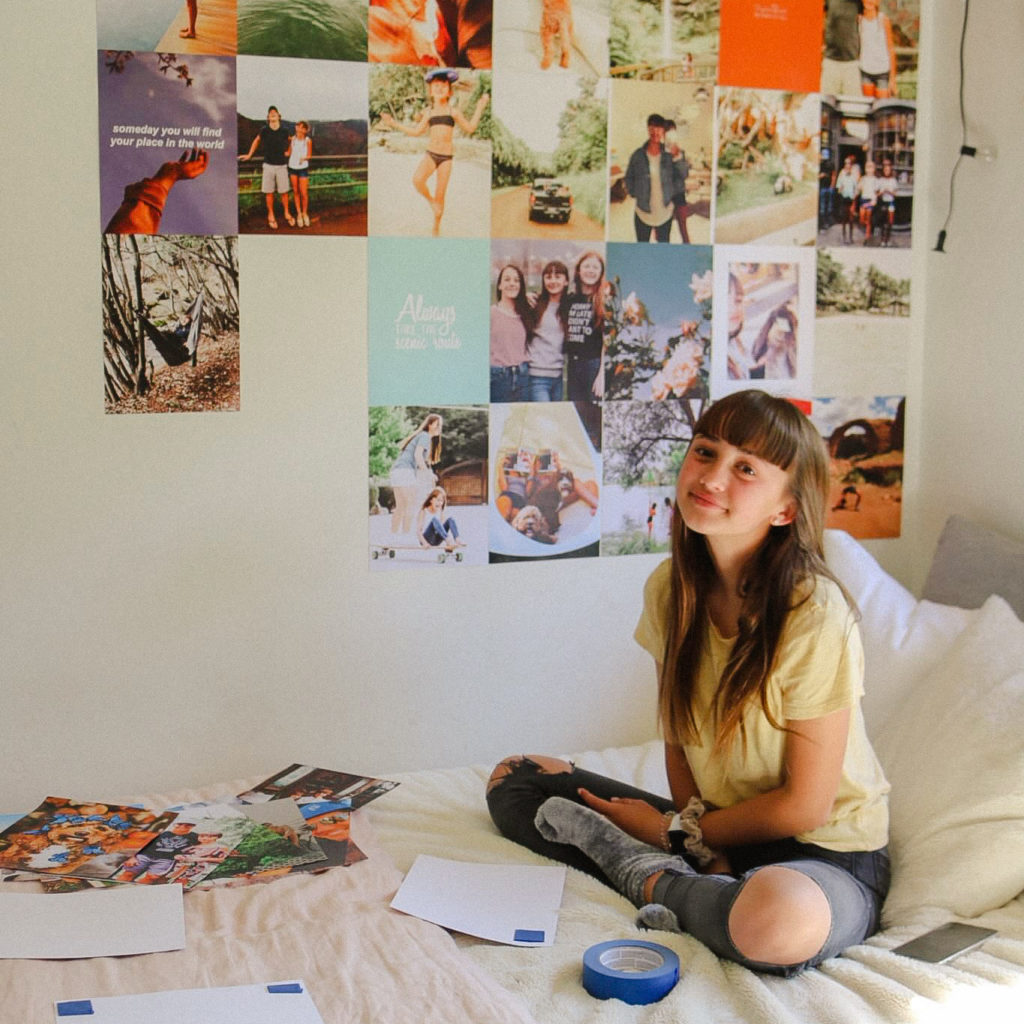
We love seeing how Sela from The Sela Show used our Collage Wall Kit to decorate her room – she designed and ordered everything right on her phone, and was able to receive and put up the prints within a week! Check it out!
Watch Sela’s Before and After Video
Subscribe to Sela’s YouTube Channel
Sela on Instagram
Sela used a total of 120 prints to decorate her room! She easily added the 20 extra in with our design software.
Upload 100 or more photos and drop them into the 8.5×11 canvas (rotate as needed).
When you’re done, be sure to tag us on our socials for your chance to be featured on our page! We can’t wait to see what you create!