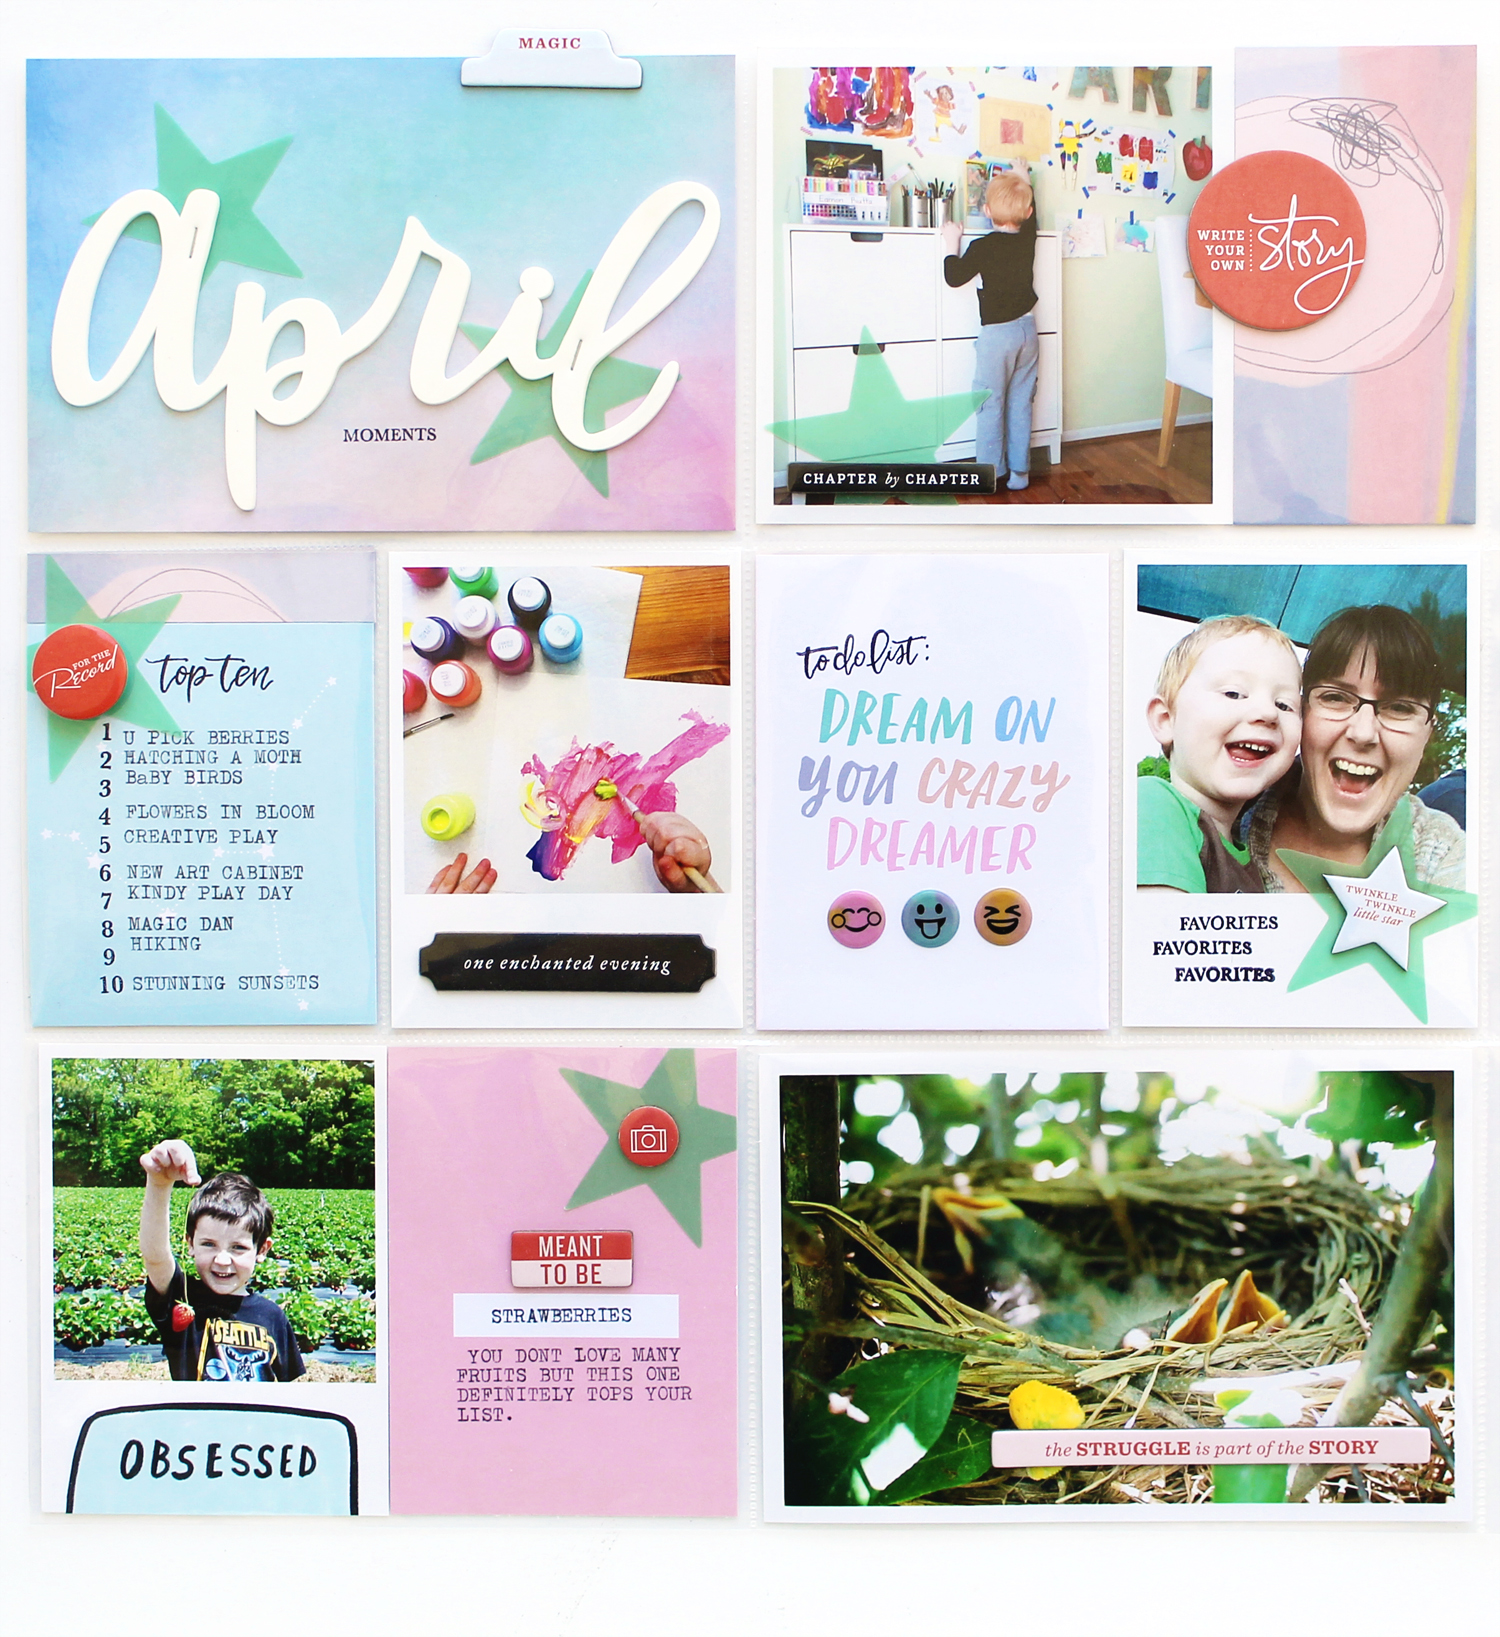
 Hello friends and fellow memory keeping enthusiasts. About 4 months ago I made the switch from printing photos at home, to ordering my prints from the lovely folks here at Persnickety. In that time, I’ve developed a system for editing and ordering my photos that works wonders for me. This system allows me to have my photos printed in advance and at the ready when my Studio Calico Documenter kit arrives in the mail and it’s time to create. I thought I would walk you through that system today and hopefully, you can find a few tidbits in here to help you along your own memory keeping journey.
Printing photos at home, although convenient, began to get expensive, troublesome and yielded less than stellar results. When I began to print my photos professionally, I quickly realized that I was spending less money on a monthly basis, and getting gorgeous, quality, archival photos every single time. I didn’t want to go back, so I came up with a system that would make ordering prints, just as convenient as printing at home.
Step One – Keep Your Digital Photos Organized (somewhere other than Facebook). I organize my photos on my 1TB External Hard Drive by Year, Month and then Event. At the moment, I’m working about a year behind in my Project Life album, so when I want to print I just go to Pictures –> 2016 –> 4 April and grab all my favorite photos to edit and print.
Step Two – Create Holding Tanks. This step has been the most effective piece of my photo organization puzzle. I have two folders on my desktop, one named “Photos to Process” and the other named “Photos to Print”. When I want to quickly clear my phone or SD card, I just move all my photos into the “Photos to Process” folder. Then when I find a little time to organize those photos I move them, based on date, into their respective folders on my External Hard Drive. When I’m editing, I copy any photos I know I want to print into the “Photos to Print” folder. Then when I’m ready to order, I upload and order everything from that folder and delete them all when I’m done (that is why I copy them there, make sure you’ve saved the originals to the right folder on your hard drive.)
Step Three – Form a Habit. I have set a reminder in my calendar to edit and order photos on the first day of every month. I don’t always get it done on day 1, but if I make sure to sit down to edit and order for about an hour within the first few days of the month, I always have a stack of photos to play with by weeks end.
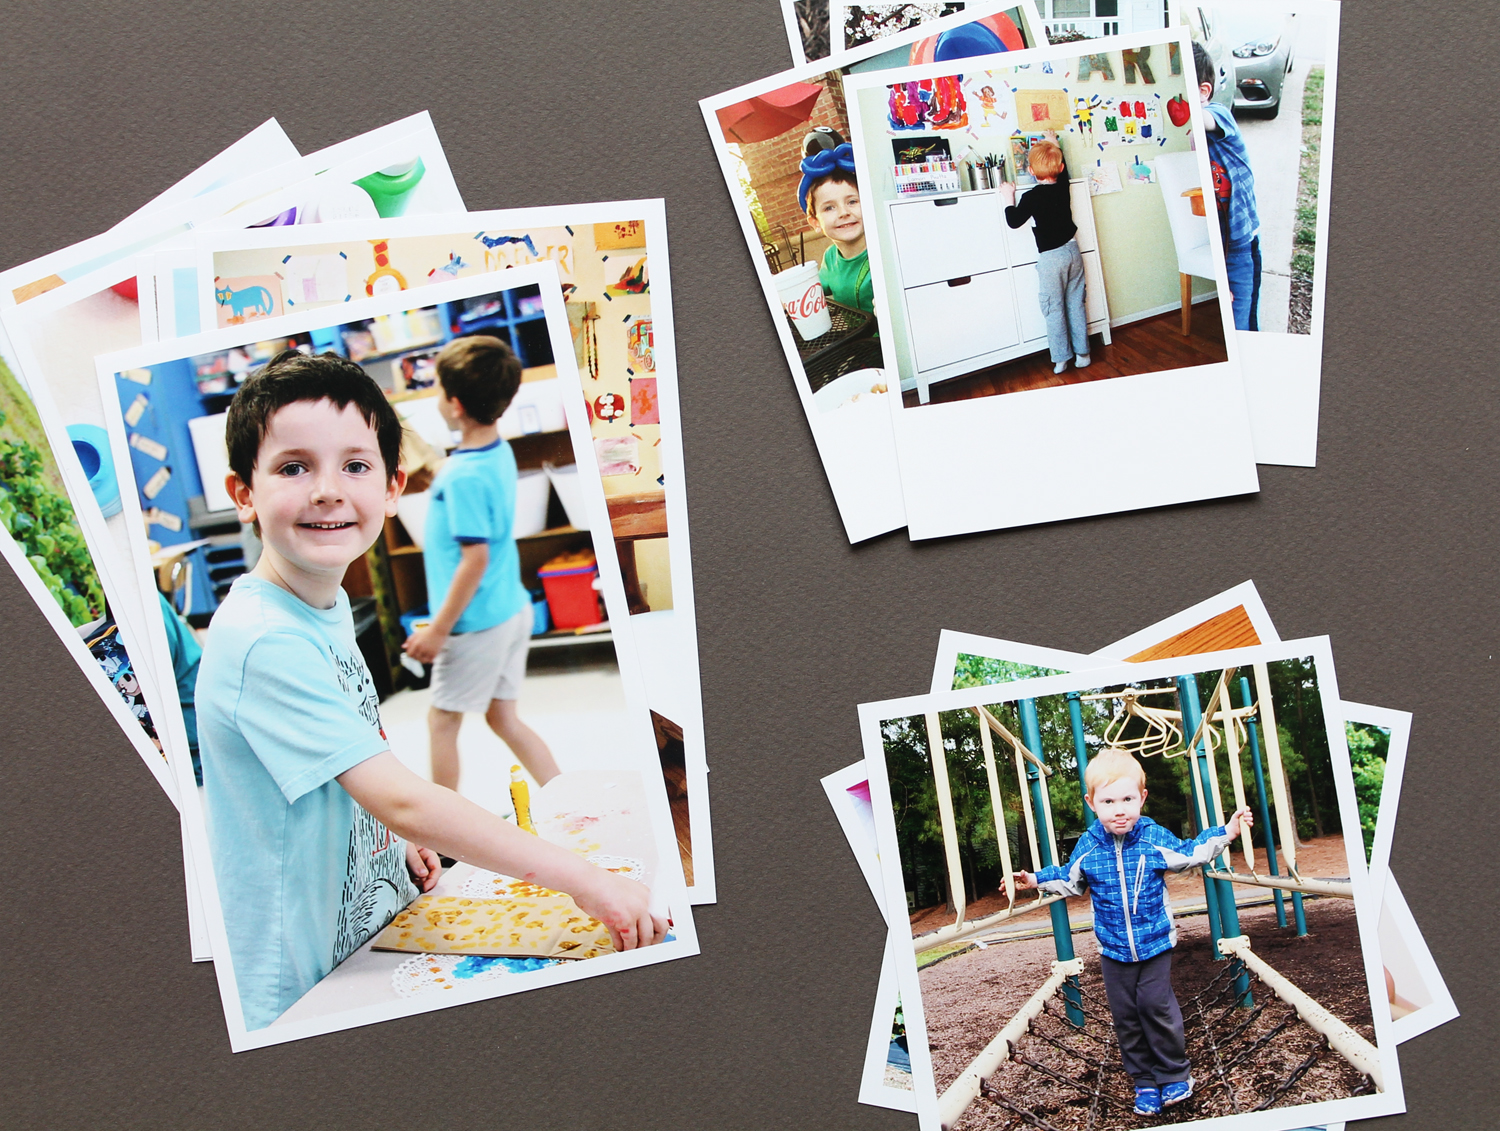
Step Four – Make decisions about your photos. I hate to plan ahead, so this step is the hardest step for me. I basically just make a mental check list about how many projects I’ll make, what odd sizes I’ll need (sometimes I like to go big) and whether I want to go with white borders or not. I usually decide up front about my borders and then order an assortment of sizes 4×6, 4×4 and 3×4. If I’m in a white border mood that month, I’ll order the Polaroid Press Prints to fill my 3×4 spots. And because I’m not a great planner, I always use the safety net that is step five.
Step Five – Don’t be afraid to order more than you need. I always order more than I’ll use for projects in a month. I figure I’m already paying for shipping so, what is a few extra dollars to make sure I have some flexibility with my photos? I’ve found that I can always find a use for unused photos at the end of the month. Like sending them off to the Grandparents, letting the kids washi tape their favorites on their walls, giving them to friends, letting the kiddos try their hand at scrapbooking, etc.

There you have it, a system that keeps me creating and gives me lots of flexibility without too much time invested. I love it and plan to keep up with it as long as I stick with this wonderful hobby.
Happy Crafting,
Carson
Connect with Carson on Instagram
*this post was in no way influenced by Persnickety Prints. All content genuinely created by Carson