Prints
Cards
Gifts
Wedding
Explore
iPhoneography Series: Snapseed
![]()
Decisions. Decisions. You snap a photo on your phone, then what?
With the large selection of photo editing apps, how do you know which app to use and when?
You don’t. Edit and Edit it again until you get the desired result.
Example:
3 Fisherman were coming in from sea after catching these huge Mackerel. I ran to the beach to snap a photo. The quick access native iPhone camera app was my only chance in catching a shot. I couldn’t ask the men to turn and model with the sun facing them, nor could I move the sun. Sometimes we have to work as best we can in the shooting situation we’re in.
As you can see on the top left, the original photo is really dark, especially the fisherman’s faces. There is also some background distraction.
I pulled the photo into Pic-Tap-Go to edit and lighten… twice. It wasn’t working. Adjusting the exposure in the Pic Tap Go App only blew out the sky and the water. I was being lazy, and wanted it to work.
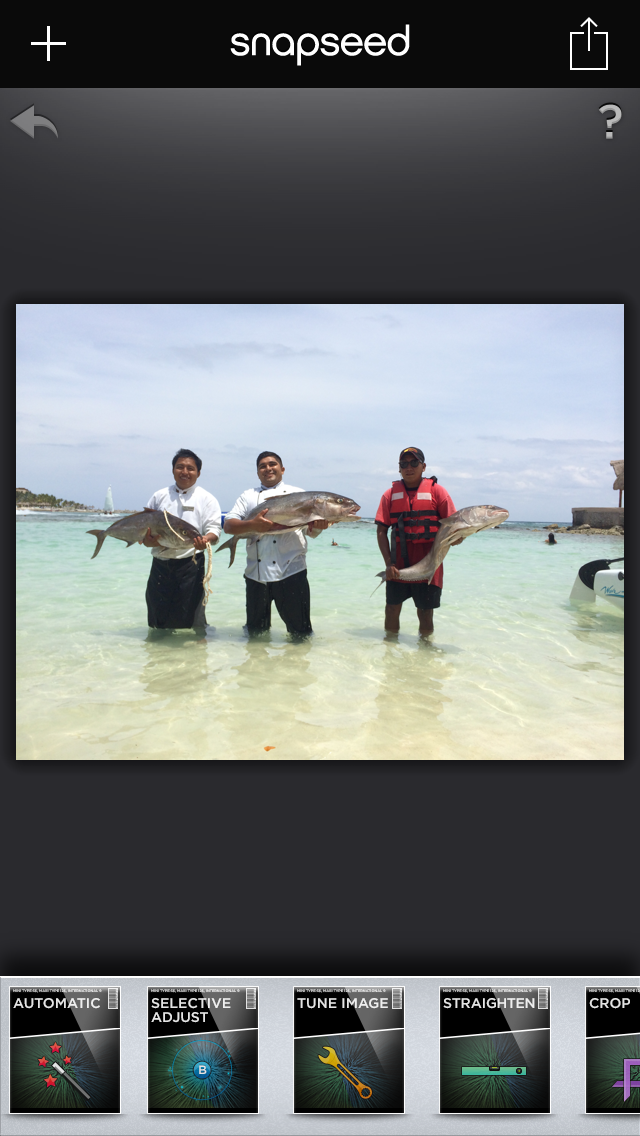
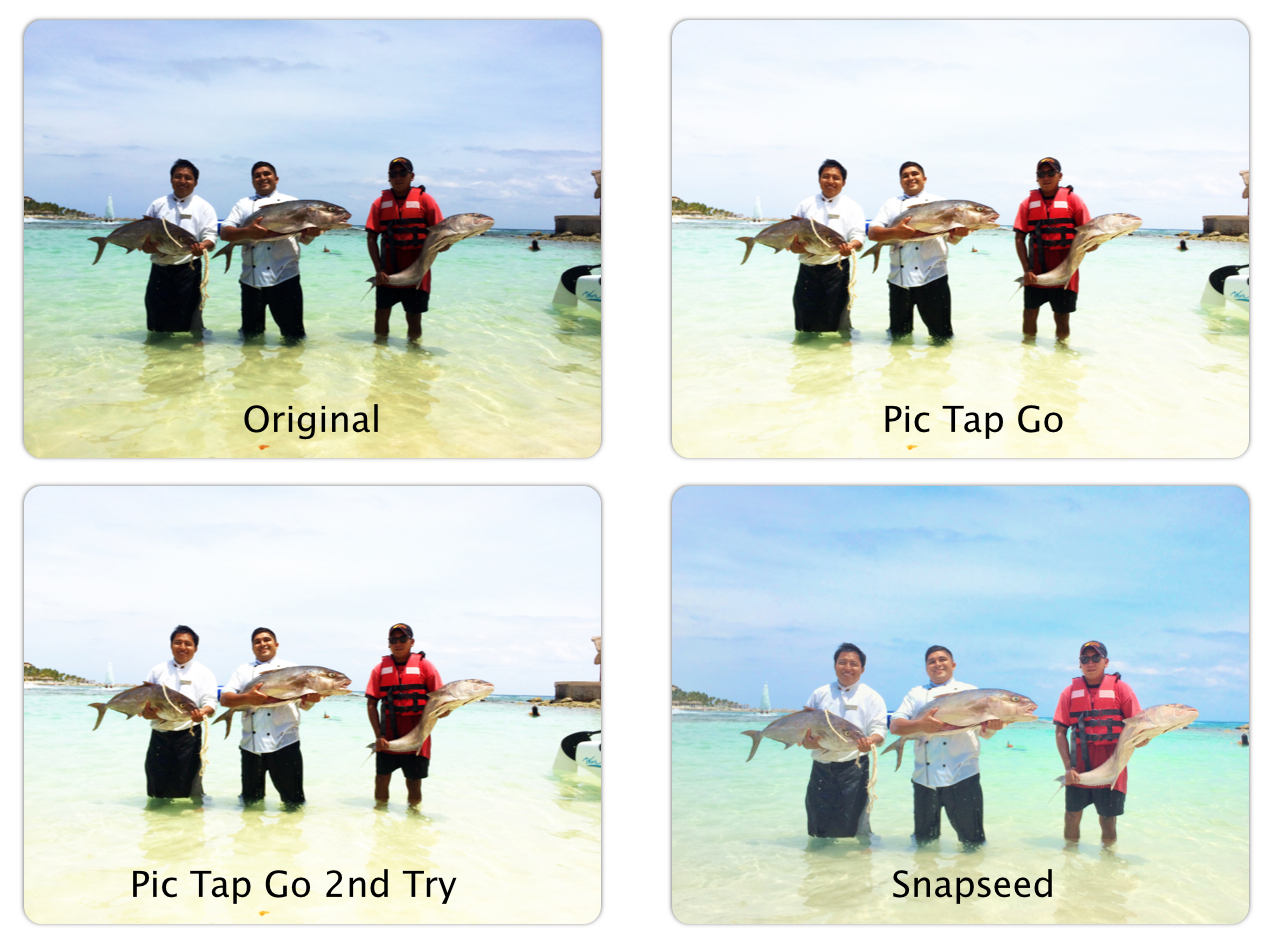 Enter Snapseed, the only app I’m aware of that offers precise pixel selection for image enhancements (selective adjust). It takes a little more time than a few enhancement clicks, but will get the job done. I pulled the original fisherman photo into Snapseed and produced my final image.
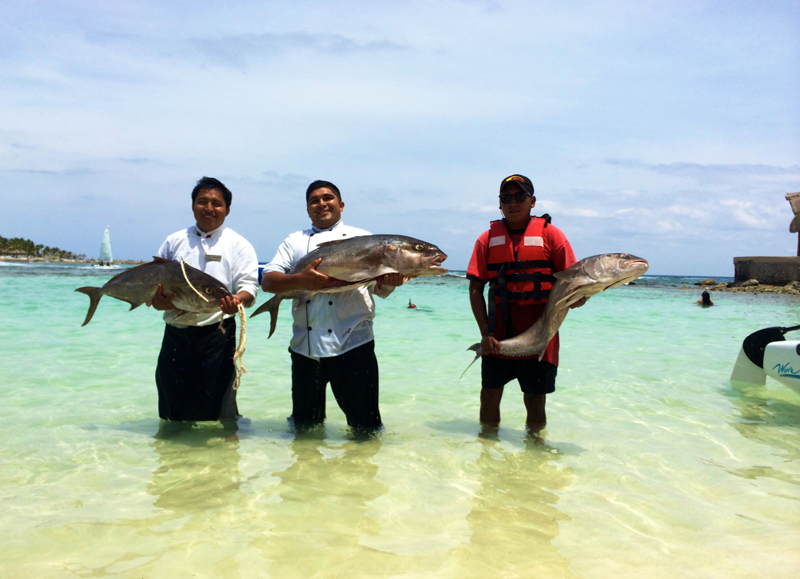
Before
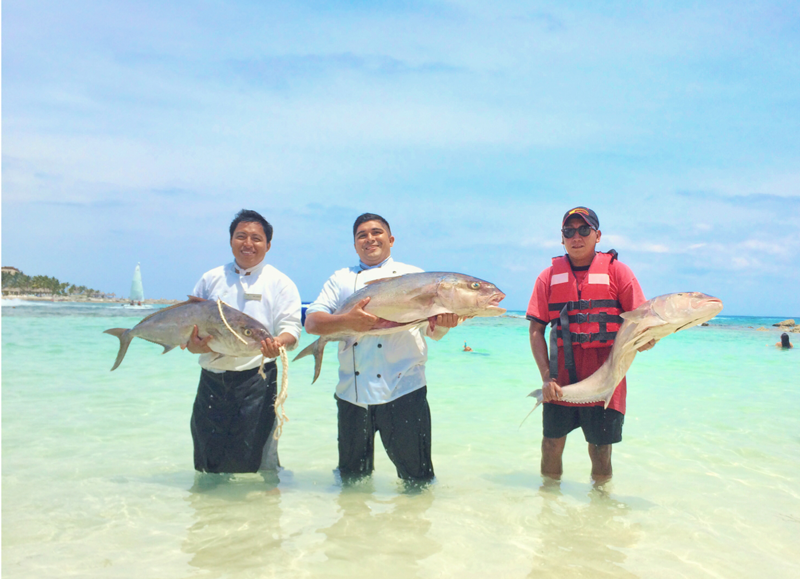
After
Another Example:
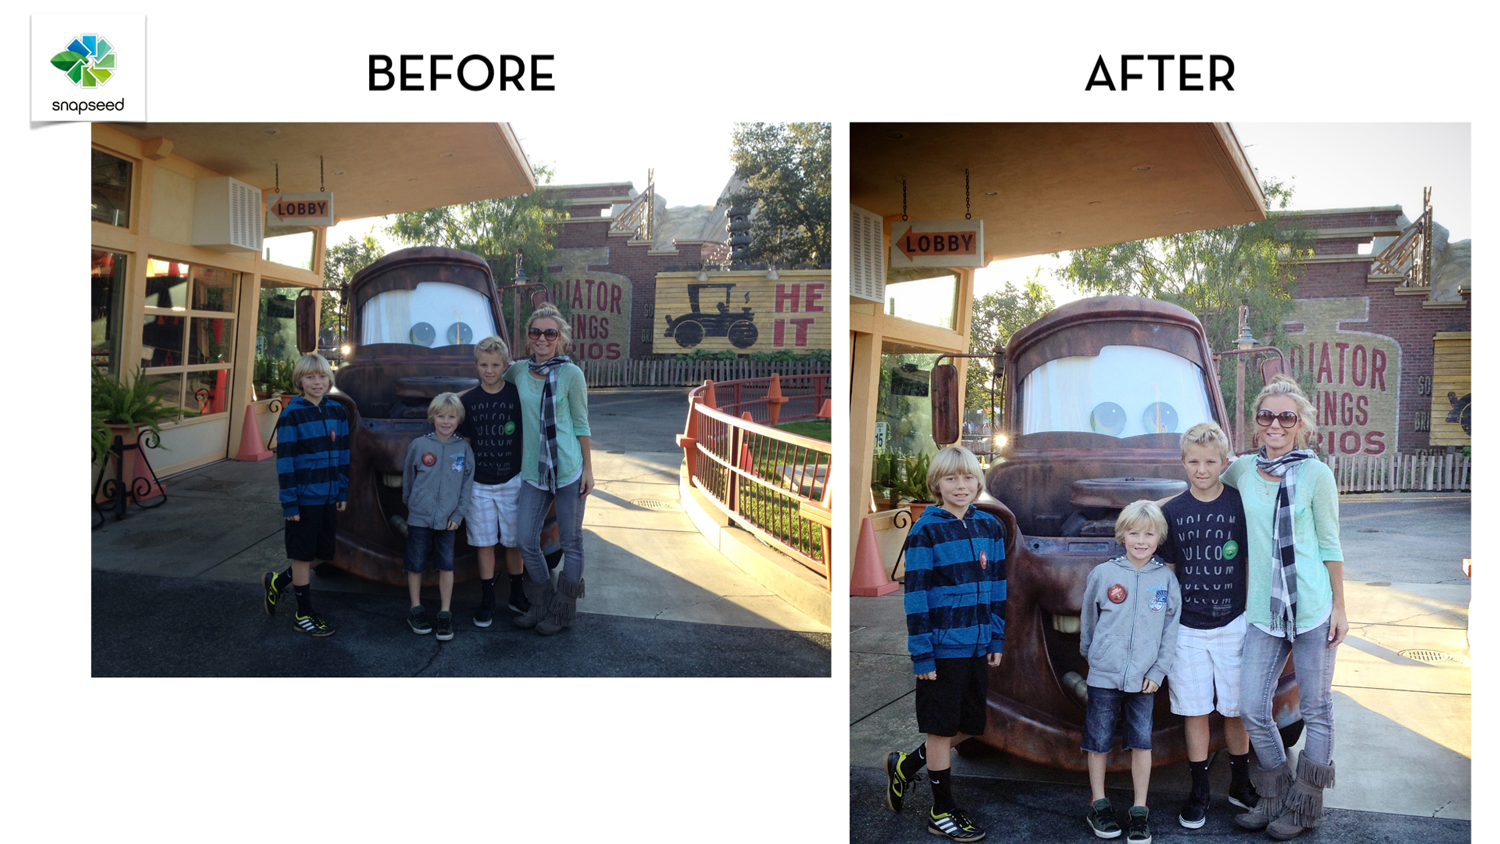
We’re at Disneyland, waiting in line to get the family photo with the Cars star, Mater. The husband is off using the Men’s room and it’s our turn. I hand my iPhone to the stranger behind me. He snapped a photo for us, I said thanks, then pulled it up. He did a pretty good job, but with a few enhancements our photo could be improved.
How I Edited this Photo in Snapseed:
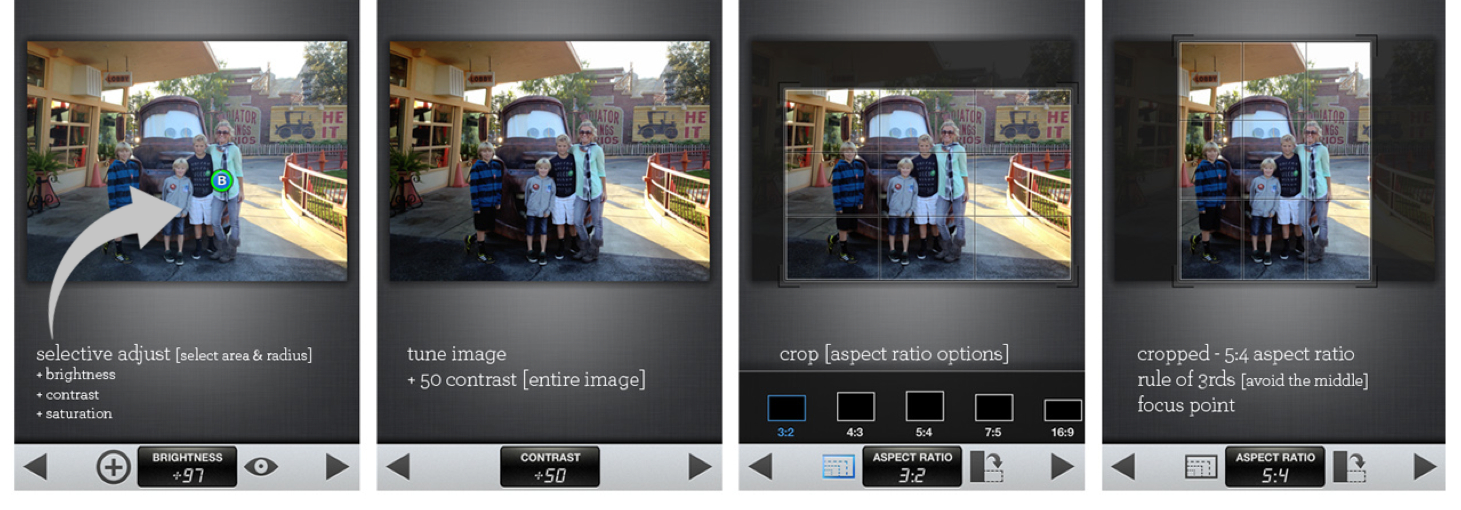
- Selective Adjust. Tap on the Add button. Tap on the object or area that you want to enhance. A control point will be placed where you tap. Move the control point at any time by dragging the control point. To increase the area affected, use two fingers to make a zoom gesture and pinch out.
- Tune Image. This feature will adjust and enhance the entire image (brightness, ambiance, contrast, saturation, shadows, warmth). Don’t overdo it!
- Cropping. Free Crop, or use Aspect Ratios. This is a great time to fix composition using rule of 3rds.
The selective adjust feature in Snapseed uses a patented U Point technology. This App is owned by Google. Full details and instructions can be found here:
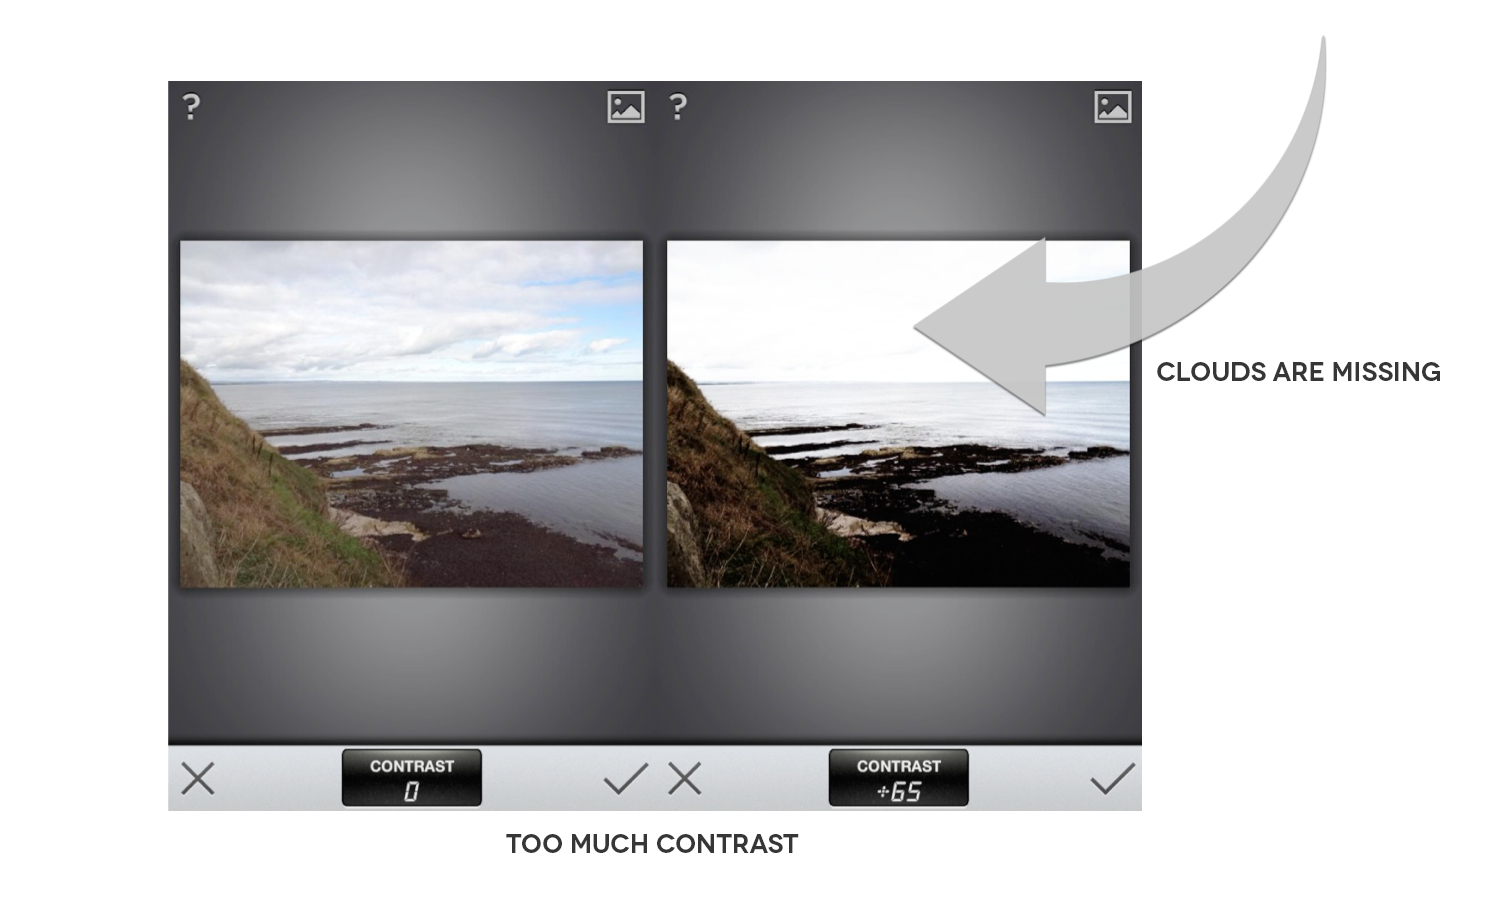
What NOT to do in Snapseed
We can get carried away with post processing and photo fixes. Be sure to keep the image looking “real”. The filters and adjustments in this app are strong. Too much contrast or sharpness can ruin the fine details of your image.

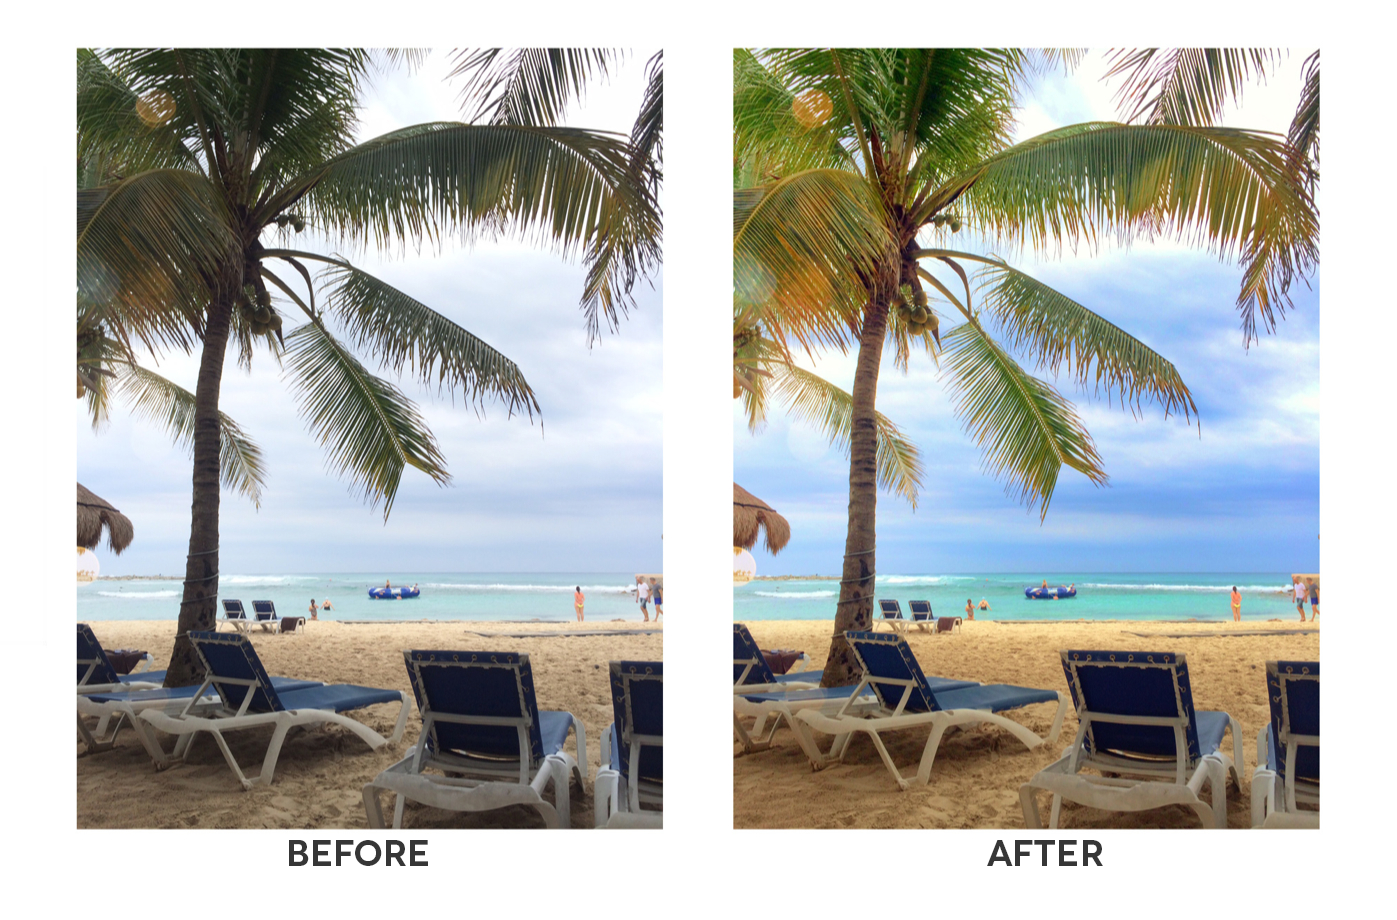
Use the Selective Adjust tool to precisely edit only portions of the image. Bring out colors and saturation where needed.
Snapseed is available for Free in iTunes and Google Play
I hope this quick tutorial will help you enhance your photo when the situation doesn’t allow for the best shot. We’d love to see what you’re shooting! Tag #persnicketyprints on Instagram, Twitter or Facebook.