New Website Has Launched!
Unleash your creativity! We are so excited about this amazing update that allows all Persnickety Prints customers to edit their photos right in their account. There are so many options and abilities to use and create work’s of art from your uploads. We want to show you the basics. Keep reading to learn more about our all new photo editor on PersnicketyPrints.com!
Upload Pics to Edit
First, login and upload your photos to PersnicketyPrints.com. You can do this on a computer, or your phone — no app needed!
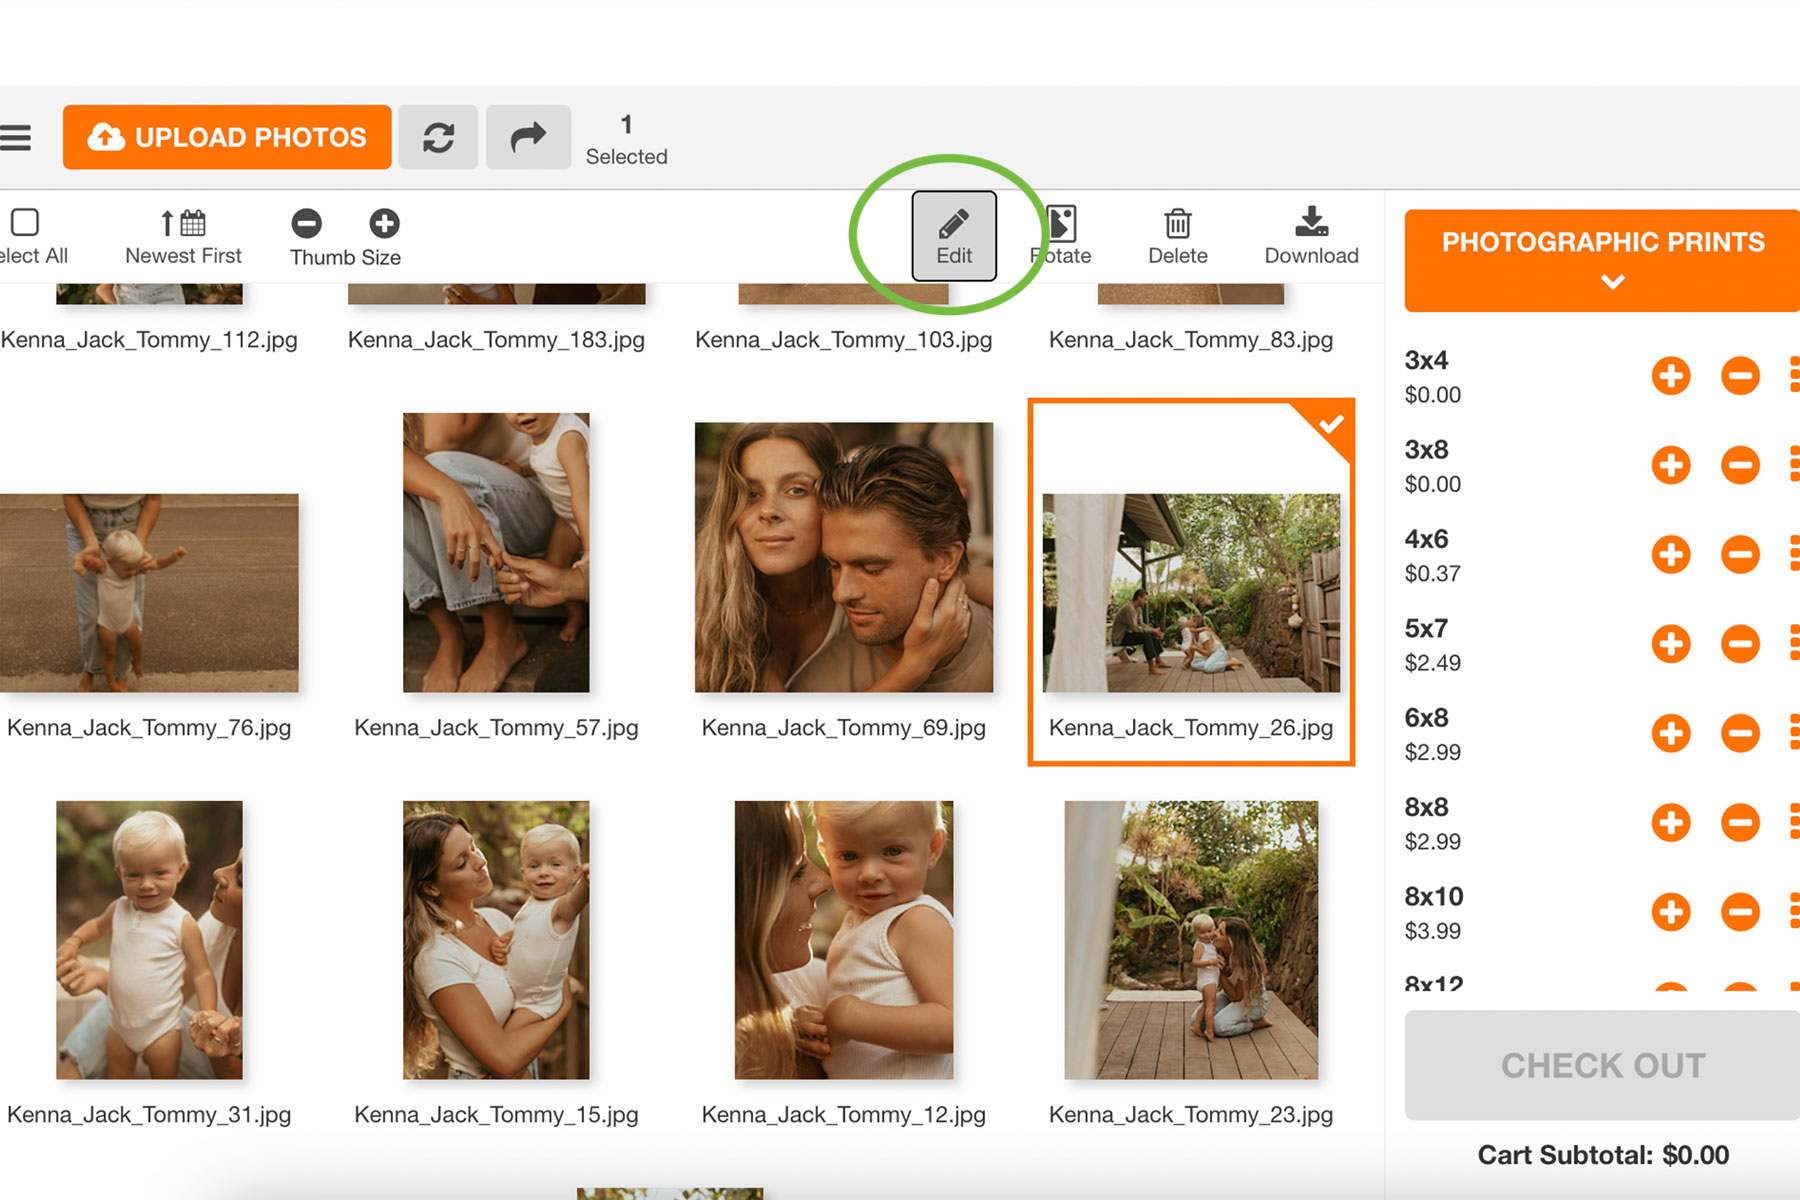
Once your photos are uploaded to your account, get your editing started by selecting the image you would like to edit. See the little “EDIT” icon appear in the tool bar at the top? Click it!
Make Adjustments
After clicking edit, you will enter our photo editor with the image you selected. Now, the fun begins!
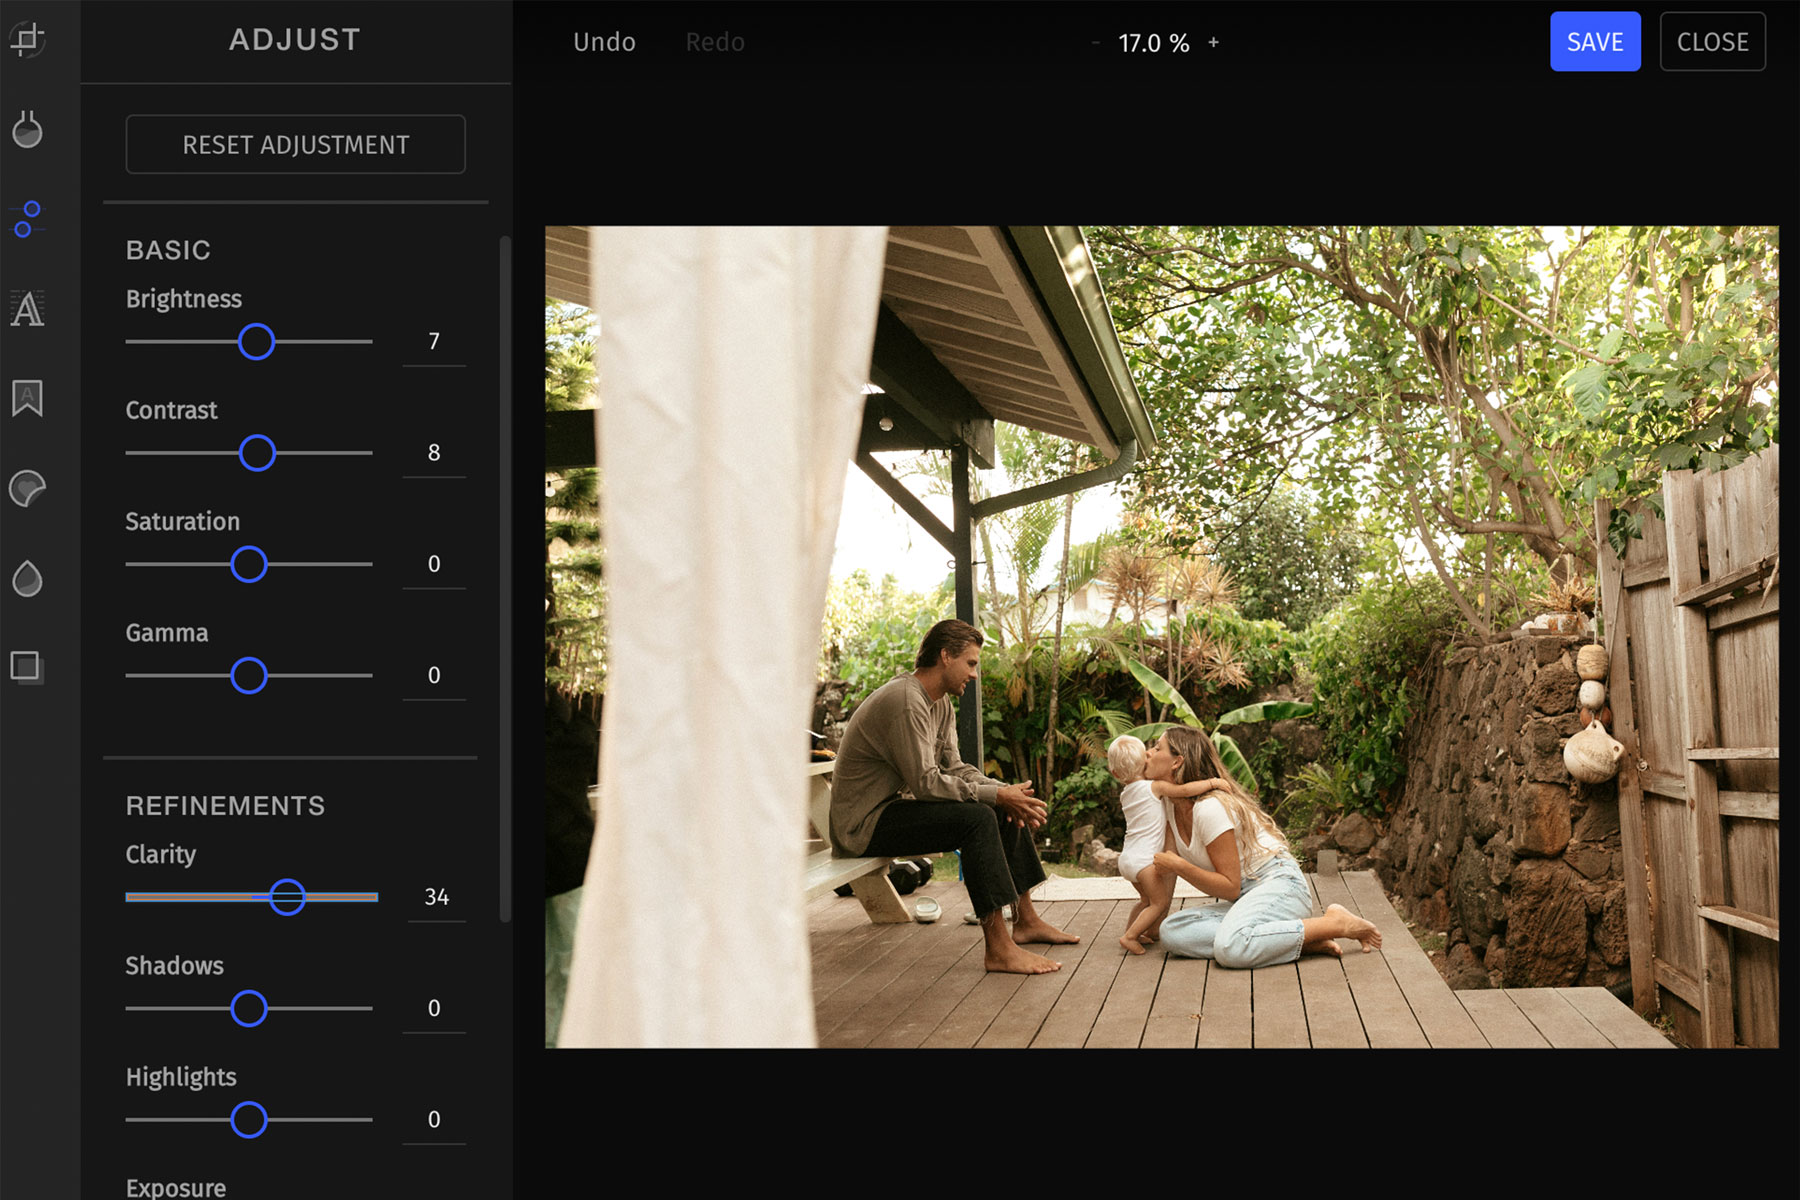
Toggle through the tool bar on the left to make different kinds of adjustments to your image. From top to bottom, the tools include:
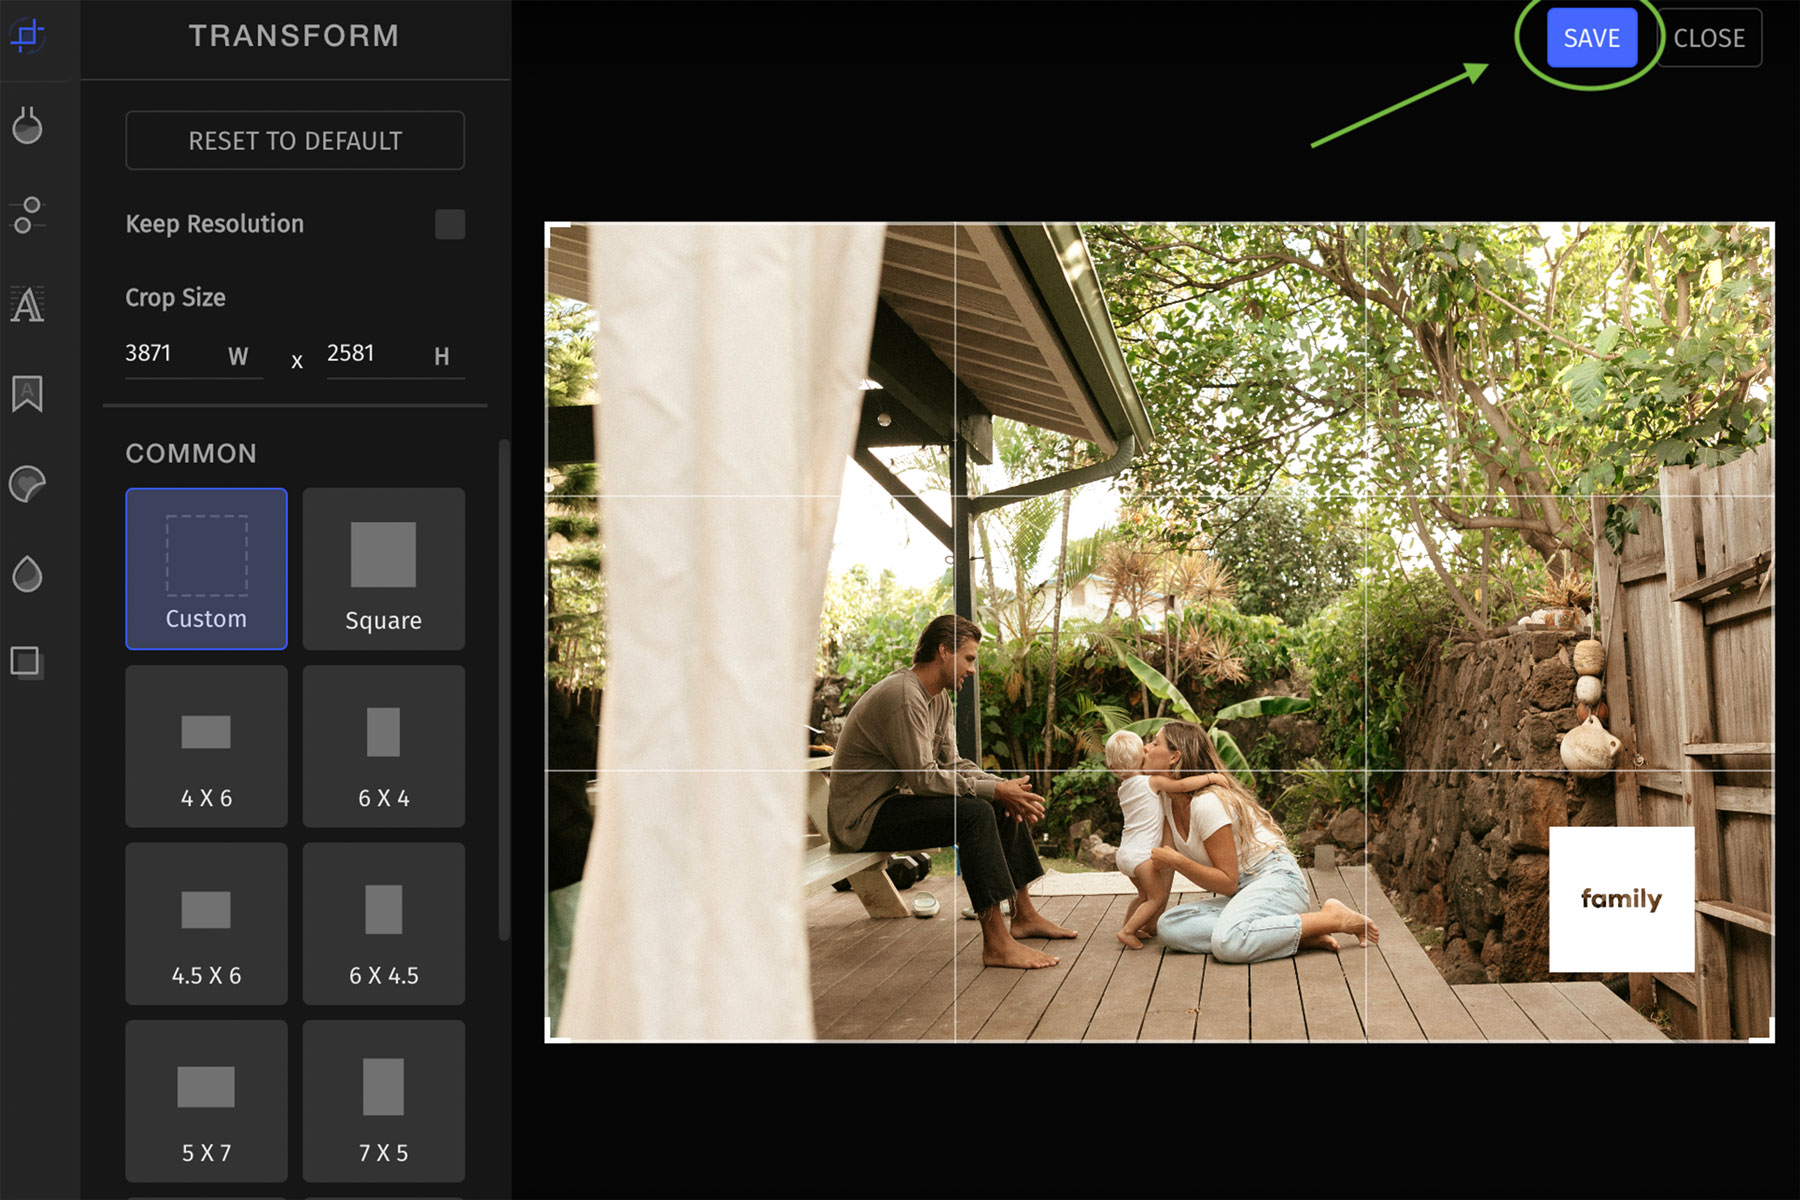
- Transform: to crop, rotate, flip, and straighten your photo
- Filters: add pre-made color adjustments to your image
- Adjust: fine tune photo adjustments to the color and look of your image
- Text: add your own text right onto your photo
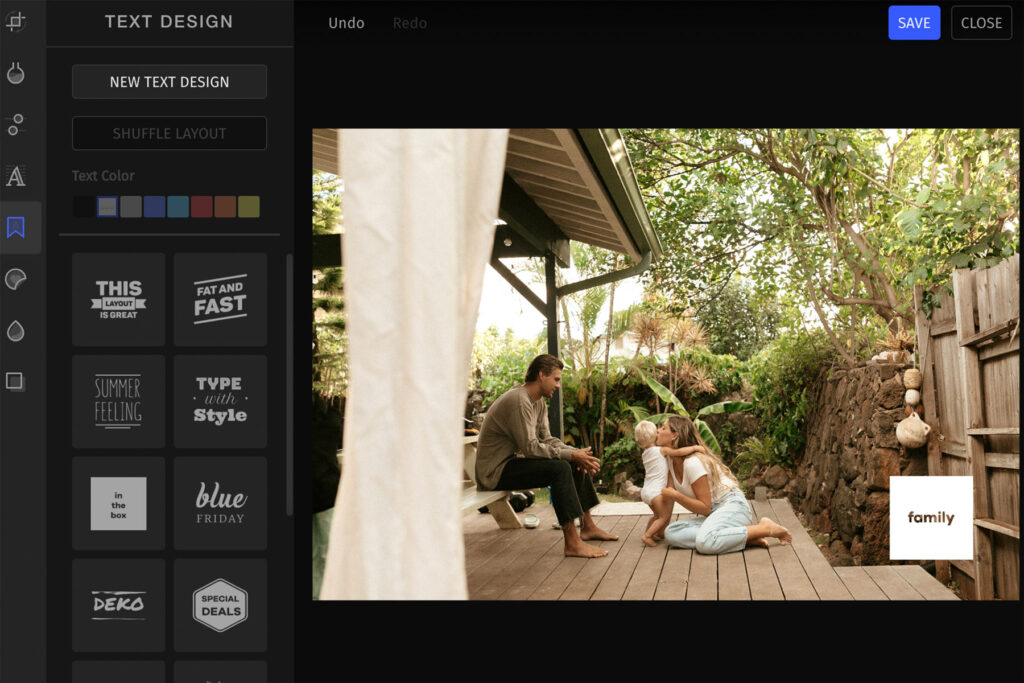
- Text Design: use decorative text on your image
- Stickers: add emojis and shapes to your photo
- Focus: add and adjust blur to focus on different parts of your image
- Overlays: use pre-made overlays to add texture and elements to the whole photo
Save Your Edits
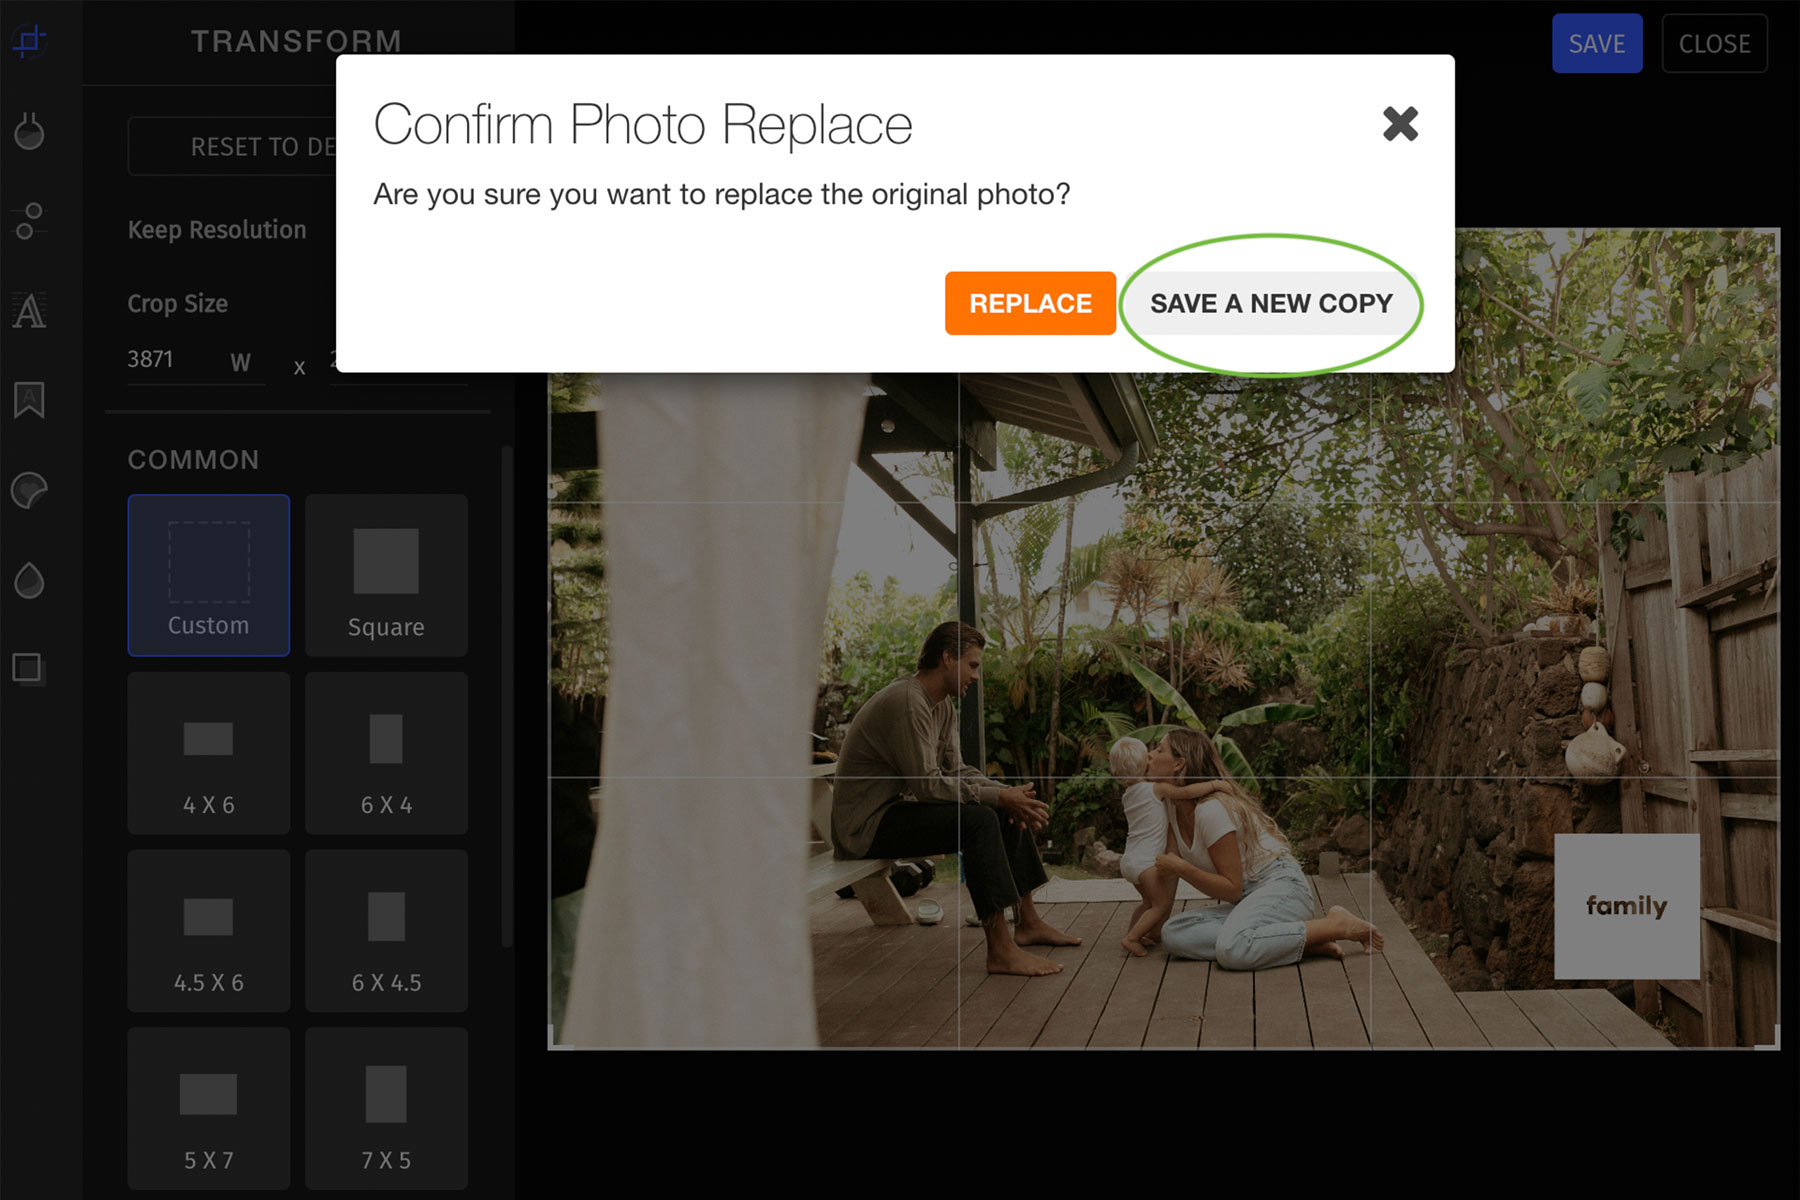
After editing your photo to your liking, don’t forget to save! Make sure to not lose the masterpiece you’ve created. Select the blue “SAVE” button at the top right corner, like shown in the image below.
We recommend saving your edited photo as a copy, just in case you need your original photo. You’ll see your edited photo and the original, in the same album on your account.
If you choose “REPLACE”, your edited photo will save and replace the original. Your original image will no longer be in your albums, on your account.
Print Your Edited Pics
Now you know how to use our all new photo editor! Making adjustments and edits has never been easer. We can not wait to see what you create! We’re here to help, as always, if you have any questions at all … please contact us!

