Prints
Real Photographs
Real fuji silver halide photographic printing, unmatched in its archival quality and vivid color reproduction. NO ink is involved as we print using a completely chemical process. With lifelike texture and sharpness, your prints will resist fading for generations and stay beautiful overtime.
Memory Pages
Give your memories the spotlight they deserve. Whether you choose to create from scratch or use a pre-made template, our free design software will help you tell your story. Available in 12x12, 10x10, 8x8 and 6x6 on matte or glossy archival fuji photographic paper.
Collage Prints
Free pre-made templates to save you time. Available as print only or with unique mount and texture for extra value. Makes the perfect gift.
Mini Prints
Get creative with mini odd sized photos. Add text anywhere, free graphics and overlays! 2x2, 2x3 and odd sized prints.
Same Day Stickers
Custom Stickers SALE! Take 40% off stickers with code: sticky easy peel & stick 4 sizes available: 3×3, 3×4, 4×4, 5×5 individual 3.5 mil vinyl stickers cut to size top coated for water-resistant, juicy projects one-off unique stickers for photos, name tags, gifting and more! order one…
Thick Press Papers
4 luxurious, ultra-thick and 100% recycled papers to choose from: matte, art, linen & pearl. From 3x3 up to 12x18 we have you covered for personal and business printing.
3×4 Retro Print
3x4 Retro Print avail on 4 different thick recycled papers. Retro prints are perfect for wedding sign-in, contact cards, pocket albums, journals and gifts.
Photostrips
Go retro with photobooth-style photostrip prints. Unique wedding and event favors, bookmarks, scrapbooking, traveler’s notebooks or cut them up or share with friends!
Instagram Prints
Instagram Photos delivered to your doorstep! Shipped within 24 hours- 100% Guaranteed or your money back. Available in 4 thick press papers: matte, art, pearl & linen includes white border.
Collage Wall Kit
The all new photo collage wall kit includes 100 of your favorite images printed on premium 100# soft recycled textured paper measuring at 8.5x11 each for only .99! Add additional pages for 59¢ each.
Just add tape.
Canvas
Elevate any space with our museum grade Gallery Wrap Canvas. Printed using archival pigmented inks with the highest quality, giclee printing process. Sustainably hand-wrapped around a 1 inch durable wooden frame and ready to display right out of the box.
Giclee Fine Art Prints
Giclee Fine Art Prints are the top of the line, designed specifically to meet the demands of even the most critical photographer and artist. Archival Pigment Ink up to 30x40".
Heat Press Photo Mounting
Display your memories like fine art prints with a canvas like protective texture. Museum grade print pressed together with archival texture and protective laminate onto 3/16” lightweight foam core in a 450 degree vacuum seal.
Collage Prints
Free pre-made templates to save you time. Printed on museum quality matte photo paper. Available as print only or with unique mount and texture for extra value. Makes the perfect gift.
Gifts
Softcover Photo Books
It’s never been easier customizing a Photo Book!
Upload your photos and sync social platforms and from any device.
Choose Autofill & let us do the work for you!
Free Art, Quotes and Designs to tell your story.
PUR Bound.
12×18 Retro Calendar and Teak Wood Hanger
Personalized Photo Calendars make the perfect gift + ready to hang when you add a teak wood photo hanger!
8.5×11 Wall Calendar
Super thick 8.5x11 calendar with a large grid for important dates!
12×12 Calendar
Super thick 12x12 calendar with a large grid for important dates!
Wood Desktop
Customized 5x8 photo calendar is printed on 130# Premium Cover Luxe Paper. Includes an unfinished reclaimed wood block for display. Save your photos when the month is over!
Desk Calendar
A monthly reminder of your most precious moments. Customized 5x7 photo calendar is printed on 130# Premium Cover Luxe Paper. Save your photos when the month is over! Cut them out and add them to an album or frame.
Instagram Calendar
4x8 12 month calendar for square images, perfect for your instagram feed
Shop Journals
Choose from over a dozen cover-worthy designs for your next journal! Your to-do list, sketchbook, notebook, scrapbook and diary all in one. Thick, recycled paper with three ruling choices: blank, lined or dot-grid.
Custom Journal
Personalize your own unique journal with our custom cover! Your to-do list, sketchbook, notebook, scrapbook and diary all in one. Thick, recycled paper with three ruling choices: blank, lined or dot-grid.
Teak Wood Magnetic Photo Hanger
Recycled teak wood with leather hanger, 4 pieces to secure your art.
Rectangle Wood Photo Holder
Display photos, cards and art on a beautiful unfinished wood block. Paint or display unfinished with your favorite prints!
Half Moon Wood Photo Stand
Display photos, cards and art on a beautiful unfinished half moon shape wood block. Paint or display unfinished with your favorite prints!
Circle Wood Photo Holder
Display photos, cards and art on a beautiful unfinished circle shape wood block. Paint or display unfinished with your favorite prints!
Wedding
Bundle & Save Options
say “i do” to stress free wedding planning Your Dream Wedding Just Got Easier(and WAY More Affordable) No more searching,comparing, and stressing! Our mix-and-match wedding bundles have everything you need from stunning invitations to breathtaking table displays, delivered straight to your door. Learn More…
Wedding Bundles
say “i do” to stress free wedding planning Your Dream Wedding Just Got Easier(and WAY More Affordable) No more searching,comparing, and stressing! Our mix-and-match wedding bundles have everything you need from stunning invitations to breathtaking table displays, delivered straight to your door. Learn More…
Invitations
Wedding Invitations, Insert Cards, Photographs and Enlargements. Beautifully crafted at a price within your budget
How to Display Photos at a Wedding
It was a beautiful fall day here in Utah on October 8, 2019. Mark’s son Jarett wed his High School sweetheart, Beta, in the Payson Utah Temple and celebrated that evening with a reception party for over 500 people. Here’s a photo of our “family”. Mark has 4 children…
Enlargements
The giclee process produces museum quality fine art prints. 12-color archival, pigment inks with chroma optimization. Ultra-detailed image resolution and vibrant colors using a broader color gamut. Stunningly lifelike and environmentally safe. Borderless prints up to 30”x40”.
Heat Press Photo Mounting
Display your memories like fine art prints with a canvas like protective texture. Museum grade print pressed together with archival texture and protective laminate onto 3/16” lightweight foam core in a 450 degree vacuum seal.
Photo Strips
Recreate the classic photo-booth look with this 2x8" print. Display as retro-style art or cut each image out for 2x2 prints with a white border. Unique wedding and event favors, bookmarks, scrapbooking, traveler’s notebooks, cut them or share with friends!
Heart Collage
Heart collage CELEBRATE THE ONE YOU LOVE Collages are a wonderful way to display the memories you’ve made together. Show what they mean to you with an archival heart collage. Upload pictures to Persnickety Prints. Quickly upload pictures from a laptop and/or phone with our…
The Ultimate Wedding Checklist: 99 Tasks to Conquer Your Big Day
So, you just got engaged! (Cue confetti and happy tears!) You’ve just sealed the deal on forever, and the thrill is electric. But then, reality sets in – a seemingly endless to-do list that stretches further than the aisle itself. Breathe. It doesn’t have to be a white-knuckled sprint to…
Explore
Free Digital Downloads
Thank You for being our #1 Customer! Be the first to know when new digital downloads are released, get exclusive access to deals, and so much more by joining the Persnickety Prints Family! Join…
Free Lightroom Presets
Free Lightroom Presetsmobile and desktop install instructions for Persnickety Prints Customers Custom Persnickety Prints presets / filters for BOTH Lightroom CC (on mobile) and Lightroom Classic (on desktop) Lightroom Classic The program you’ve been…
Photo Editor
New Website Has Launched! Unleash your creativity! We are so excited about this amazing update that allows all Persnickety Prints customers to edit their photos right in their account. There are so many options and abilities to use and create work’s of art from your uploads. We want to show…
FAQ
Other services we offer and common questions
One Rate U.S. Shipping
Pick up in Orem, Utah U.S. Shipping Standard 7-10 business days $8.99 USPS Priority 3-4 business days $12.99 Fedex Expedited 2 business days $19.99 Shipping time and methods are not guaranteed. We would hand…
Business Printing Solutions
Same Day Business printing Flyers, Tri-Fold, Coupons, Inserts, Business Cards and more! Trifold Brochure 100lb Professional Grade 8.5×11 PaperMachine CreasedDelivered Flat 50 Min | 1,000 Max50- 500 $1.59 each500+ $1.29 each 11×17 Poster 100lb Matte TextSingle SidedFull ColorNo Mini | 500 Max1-100 $2.29 each100+ $1.99 each Business Cards Single…
Print Credits + Deals
At Persnickety Prints, we pride ourselves in a job well done. With Print Credits or Deals, we can offer you the lowest price without compromising quality with a bottleneck of orders. Get the Sale price now, redeem later and they never expire!
Sustainability
WE ARE COMMITTED TO A SUSTAINABLE FUTURE We only use FSC Certified and Recycled Papers. From our home here on the Utah Mountain Range to yours, our products are worthy of holding the stories you tell. ‘FSC’ stands for Forest Stewardship Council, an organization that works to promote the practice…
Tutorials
Quick Helps for Ordering the Perfect Prints Order from your phone on a computer Share your collections with others Download your collections More! How to Order Film Strips How to Order Heat Press Mounting How to Order 12×12 Memory Pages…
Photo Cropping
When taking digital pictures, the aspect ratio does not always correlate to the print size needed. With our online software, you can quickly crop your photos to match the aspect ratio of the print.
Color Profiling
The sRGB color space is industry standard. Web browsers use it as well as all professional photographic labs. Unless you have a specific need for Adobe RGB or Pro Photo imaging, make sure your devices and workflow is set to work in sRGB. Please be sure to EMBED working space…
Aspect Ratio
All print sizes are NOT equal Aspect Ratio determines the dimensions of an image. When shooting, you’ll most likely need to crop the image to fit your final print project. It’s always best to know what final dimensions are needed before shooting. The aspect ratio is expressed as…
Pixels
Every photograph, in digital form, is made up of pixels. Pixels are the smallest unit of information that makes up a picture. Usually round or square, they are typically arranged in a 2-dimensional grid. The number of pixels in an image is called resolution. Resolution is the amount of pixels…
Our Guarantee
100% Satisfaction We work diligently to make sure that each printed project is a stunning representation of the effort and love you put into creating it. If you have questions or need assistance, please email us at support@persnicketyprints.com or call…
Persnickety & Studio Calico
In the past, I haven’t been great at keeping up with my Documenter pages throughout the entire year. I typically do really well until the start of summer, but then the kids are out of school, life is busy with vacations and everyday activities, and I fall behind. This year, I committed to keeping up, and I’ve been doing so with a bi-weekly approach. By documenting two weeks at a time, I’m able to get things documented twice as fast.
For a long time I’ve been printing at home. However, it gets pretty costly with ink and photo paper, so I decided to try out Persnickety Prints for the first time for the photos for this page. While it did take some pre-planning (something I’m not great at), I’m really pleased with the prints themselves and how fast it was to put this page together once I received my photos. As an added bonus, I ordered my prints on Friday and they arrived on Monday! Talk about fast!
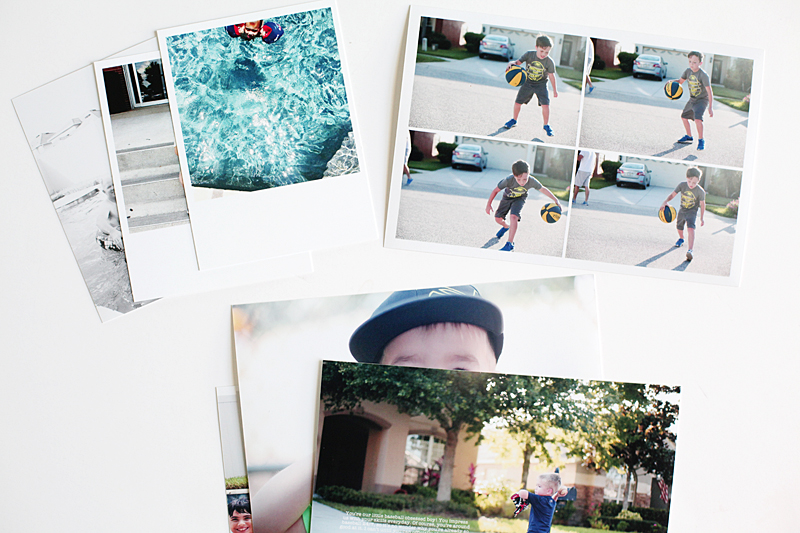
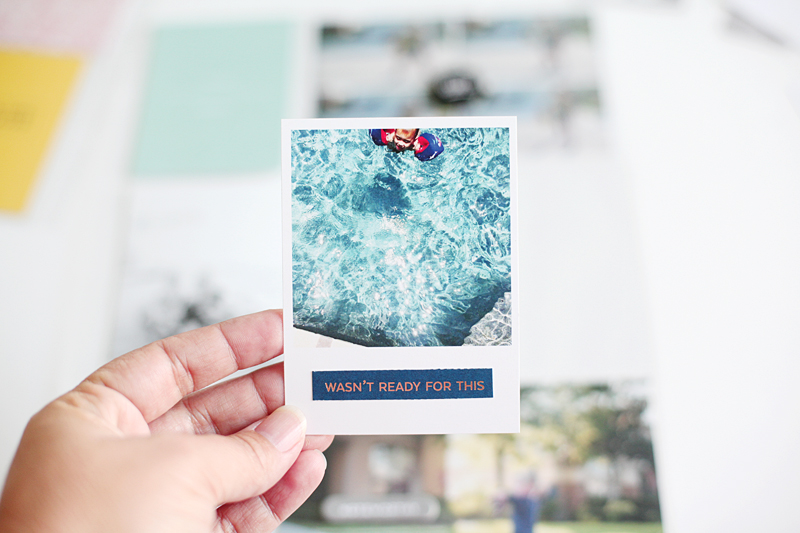
I love the print options Persnickety offers, so I was anxious to try a few, specifically the 3×4 Retro Prints. They’re perfect for Instagram photos, and they leave a perfect space for adding journaling or embellishments underneath the photo.
For this page, I had a variety of photos to use. It actually started out as a two-page spread, but the photos were so varied that I had a hard time creating a balanced spread. No worries, though! When that happens, I just go with creating one page and then I’ll come back to the spread with fresh eyes another time. I was excited to use more of the October Story Board Documenter kit. The colors, specifically the blues, in the kit were a great match for these photos from June.
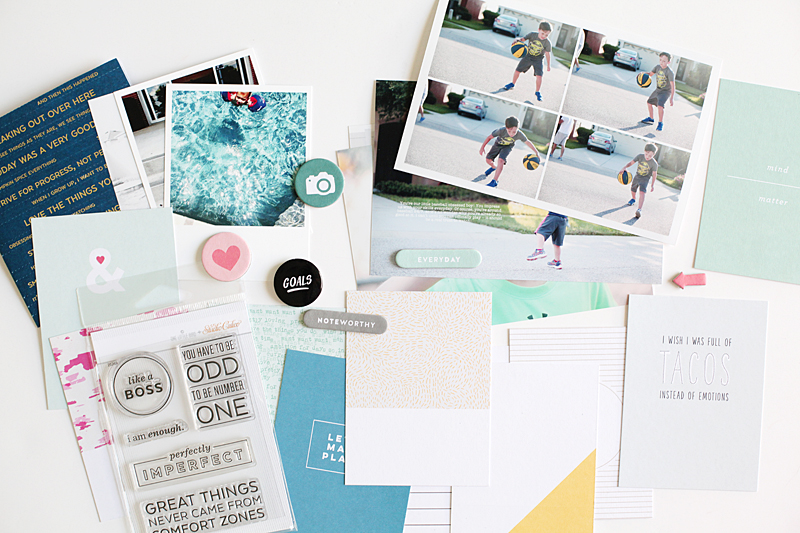
The prints from Persnickety helped this page come together super quickly. I created the grid of basketball photos on the Persnickety website, so all I had to do was slip it into the pocket. I added the “goals” badge to the center, and I love the way it turned out! I also added journaling to the photo of my youngest playing catch, again making this page a breeze to put together. I created a finished look by adding the “noteworthy” chipboard right to the outside of the page protector. I like to add any thicker embellishments to the outside of the page protector, so that the pockets don’t get wrinkled or bulge.
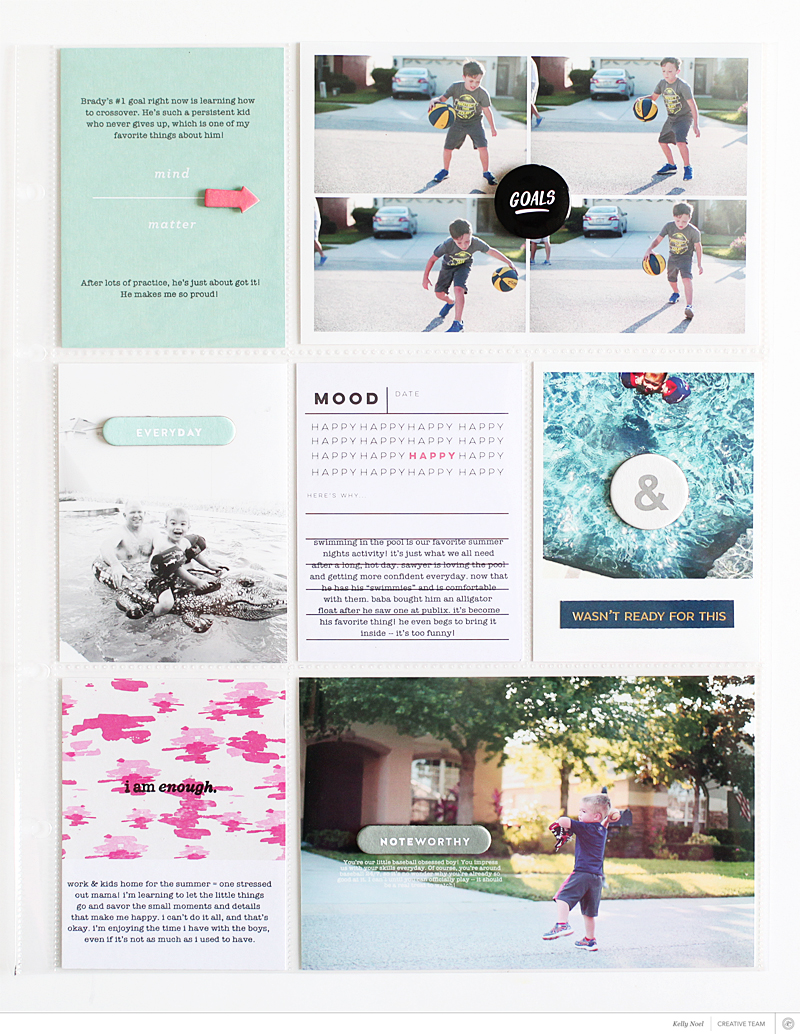
Adding a few other journaling cards with typed journaling finished this spread off. I’m really happy with the way it turned out, and I hope you’re inspired to use your Story Board Documenter kits!
 XO,
XO,
Kelly Noel / Studio Calico
> more inspiration from Kelly found here
Save
Save
Save
Save
Save