Prints
Cards
Gifts
Wedding
Explore
Batch Processing in Photoshop
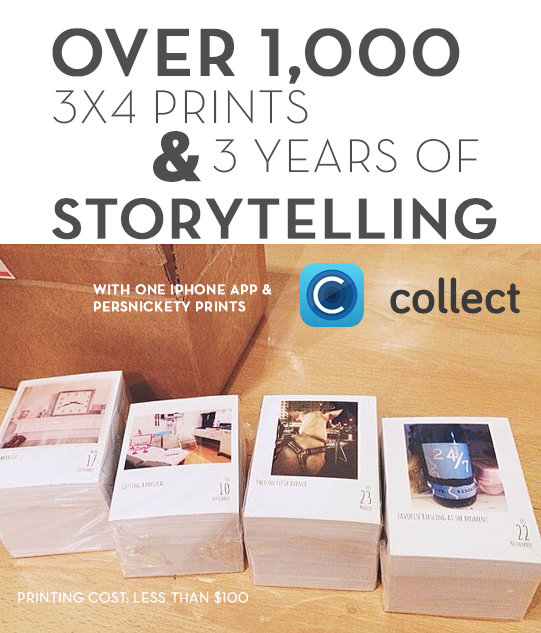
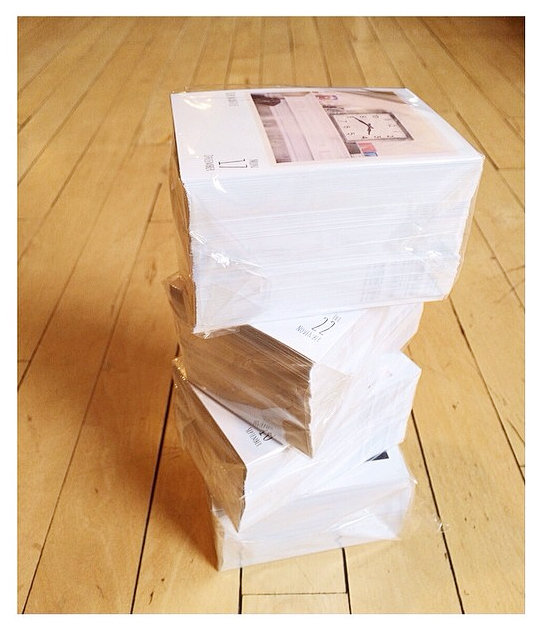
When we received this order of 1,000 + 3×4 collect prints laid out 2-up on a 4×6 print, we had to ask how the client how she did it!
We contacted Heather – who come to find out, is a font designer at The Lilypad – Check out her shop!
Heather documented 3 years of her life in the Collect Photo App (avail for iPhone only). She also came up with a quick and easy batch processing workflow to save money by laying out 2 3×4 files on one 4×6 print. Heather has been generous enough to share her strategy…
PLEASE NOTE: This tutorial is for photoshop users. Batch processing 2 3×4 images onto one 4×6 format will work with any 3×4 formatted file. Persnickety Prints uses the Collect Photo App for personal memory keeping, but is not affiliated. Please direct any questions about the app itself to the Collect team.
1. Organize Photos
I use Aperture to organize my photos. The first thing I did was change the version name to be year-month-date so I could browse through everything easy peasy. I rated my photo for each day with 3 stars (mostly because this star number does not get used often during other organizing).
2. Collect Photos for Transfer to iPhone
I searched for all my three star photos, selected them, then transferred created a Photo Stream for the year.
3. Caption Photos in CollectApp
I then started to caption everything in Collect. Tap the date. Choose the photo. Search for photo in photo stream. (I kept Aperture handy and open so I could peek at the day I was looking for. It was like a built in cheat sheet.) I gave the photo a small caption. Some events deserve more attention, and they will get separate journal cards or inserts, so just a touch of a caption.
4. Export Photos from the CollectApp
Then the time came to export the images. Pay for the App. The trial/free version will NOT export a print ready file. Set the export size to 3×4. Make sure the bleed option is on. Wait for the process to finish. Then import the 3x4s into your computer. Annette Haring has an additional detailed video tutorial here.
5. Gather Photos for Photoshop
First I gathered the photos by month to make sure they were all there. And there were no duplicates. And all the corrections were the final ones. I made a duplicate of the folder and threw all the photos in without any monthly sub folders.
6. Merge 3×4 Cards in Photoshop with a Contact Sheet & Save using a Batch Action
I’m a Photoshop CS6 user and found the easiest thing would be to create a contact sheet.
Here’s How!
Video tutorial and a list of steps:
Contact Sheet
1. Open Photoshop
2. Click File
3. Go to Automate.
4. Click Contact Sheet II
5. Under Source Images, use Folder.
6. Click Choose
7. Navigate to the Folder that is holding your images.
8. Click Open
9. Make sure the Document settings are as Follows:
Units are set to inches,
Width is 6,
Height is 4, and
Resolution is 300.
10. Make sure the Thumbnails settings are:
Place across first,
Columns 2, and
Rows 1.
11. Click Ok.
12. Wait while the magic happens.
13. Then you are done.
Record an Action
1. Open Actions
2. Create a New Action
3. Title it.
4. Click Record
5. Click File
6. Click Save As.
7. Make sure you are in the location you want to save in.
8. If not, create a New Folder.
9. Title It.
10. Click Create.
11. Change the Format to JPEG.
12. Click Save.
13. Set your preferred quality preference.
14. Click OK.
15. Click File.
16. Click Close Window.
17. Or Command W.
18. Click Don’t Save.
19. Click the Stop Button.
Run a Batch Process
1. Click File
2. Go to Automate.
3. Click Batch.
4. Set will be the folder that holds the action.
5. Then select the Action.
6. Set Source to Opened Files.
7. Then Click OK.
8. A little more magic.
9. Then it’s done.
10. Check the folder and all your images should be there.
Change Names in Automator (Optional)
1. Double Click on the Hard Drive.
2. Click Applications.
3. Double Click Automator
4. Select Workflow.
5. Click Choose.
6. Under Library select Files and Folders.
7. Drag Rename Finder Items into the Workflow Window.
8. Change the option to Make Sequential.
9. Change Add Number to New Name.
10. Type the name.
11. Choose how many digits long you want the numbers to be.
12. Open the folder with your images.
13. Select them all.
14. Drag the images and drop them above rename action.
15. Click back into Automator.
16. Click Run.
17. Done.
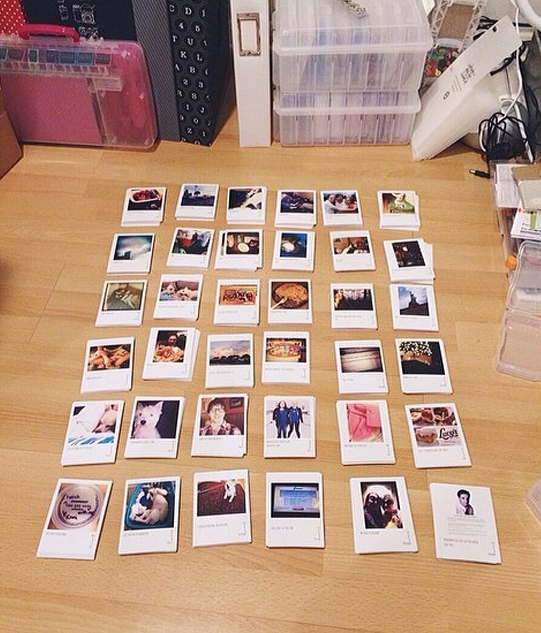
FINAL OUTPUT:

Upload Photos to Persnickety Prints! Photos arrive at your door in a few days! (4×6 prints will not be cut in half unless requested)
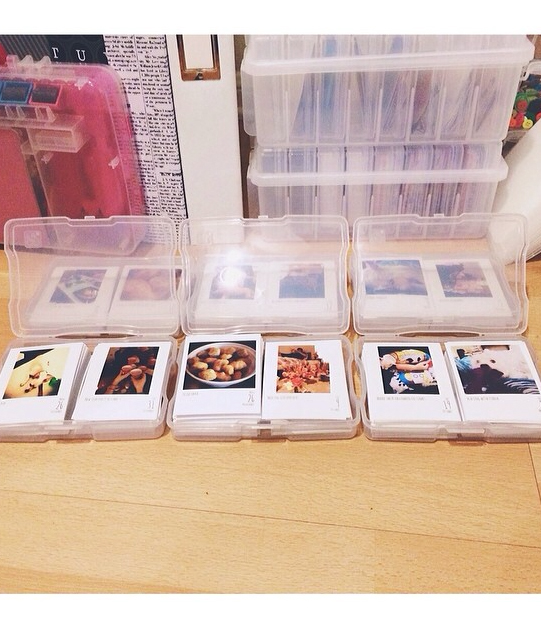
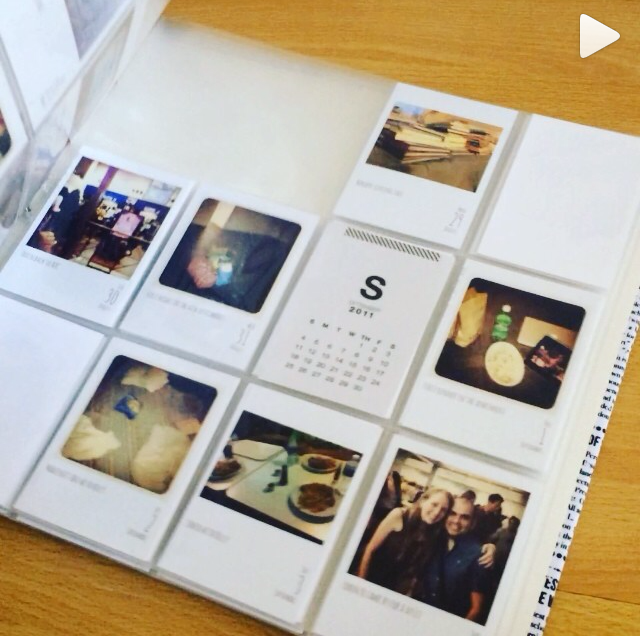 They’re now organized into my Project Life Design F Page Protectors. To see more of my final project, check my Instagram feed @talktoheather
Hope this tutorial helps!
♥ Heather